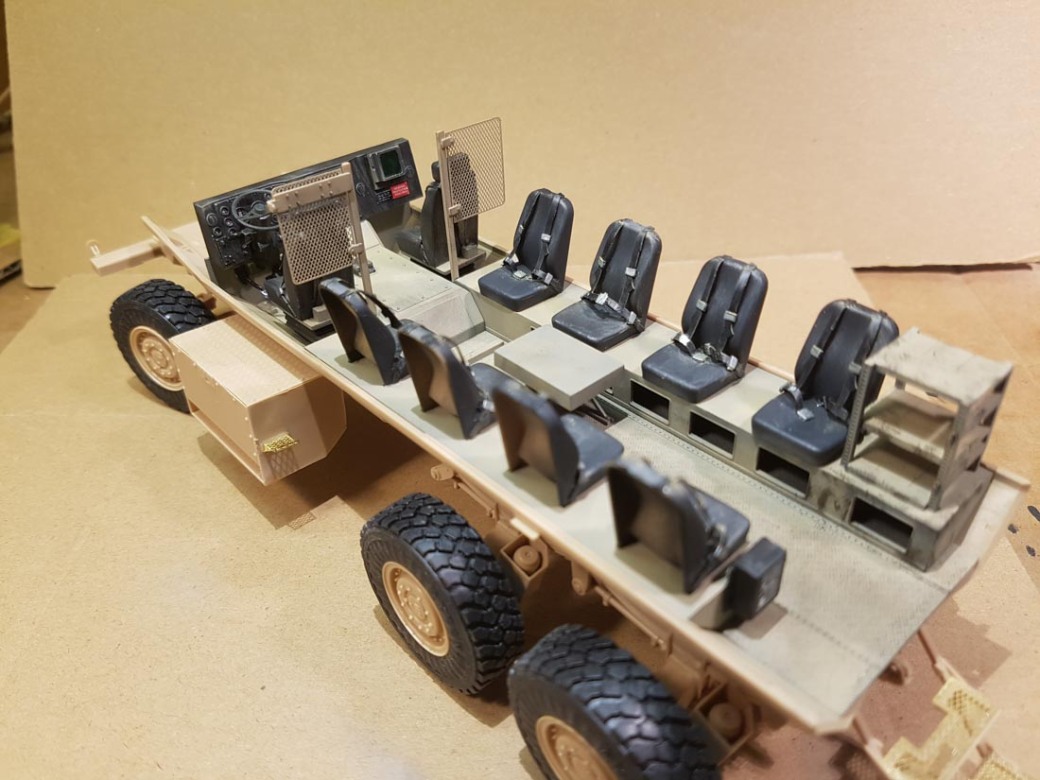
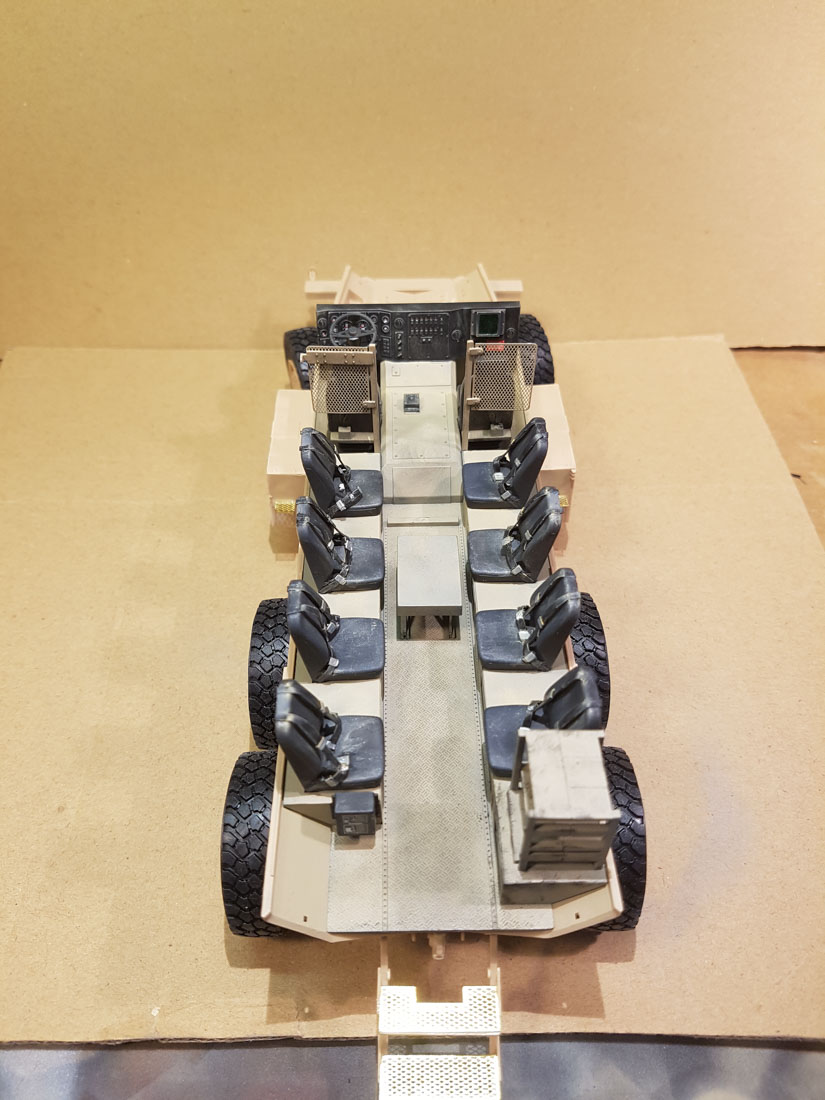
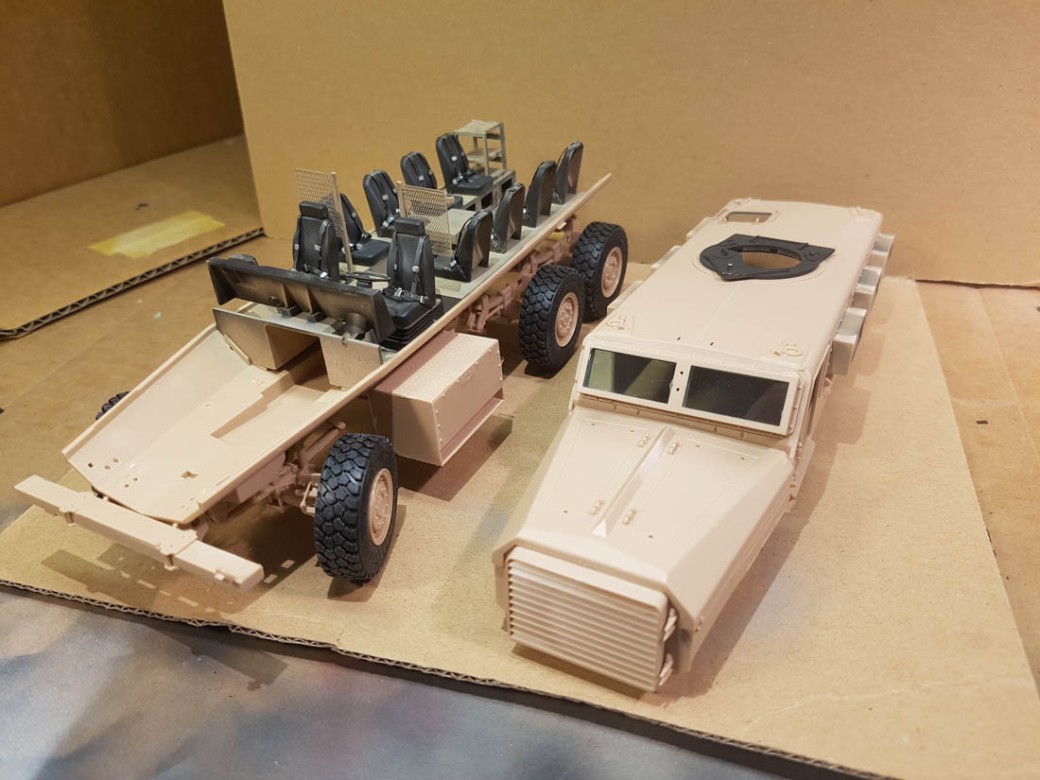
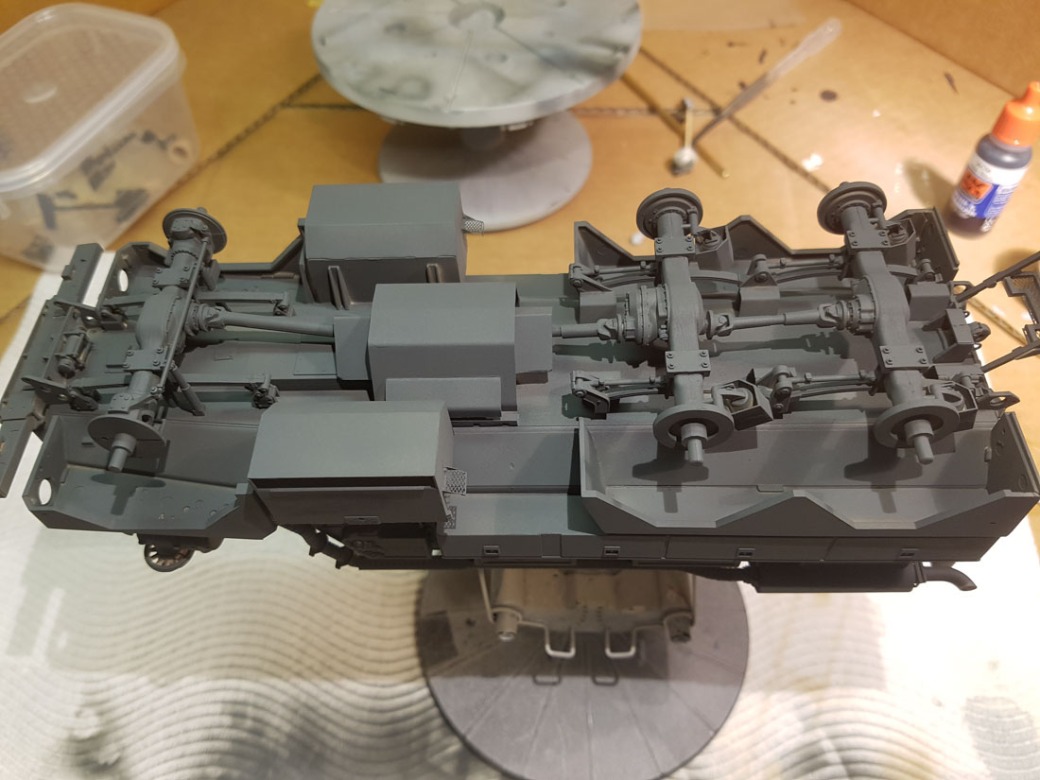
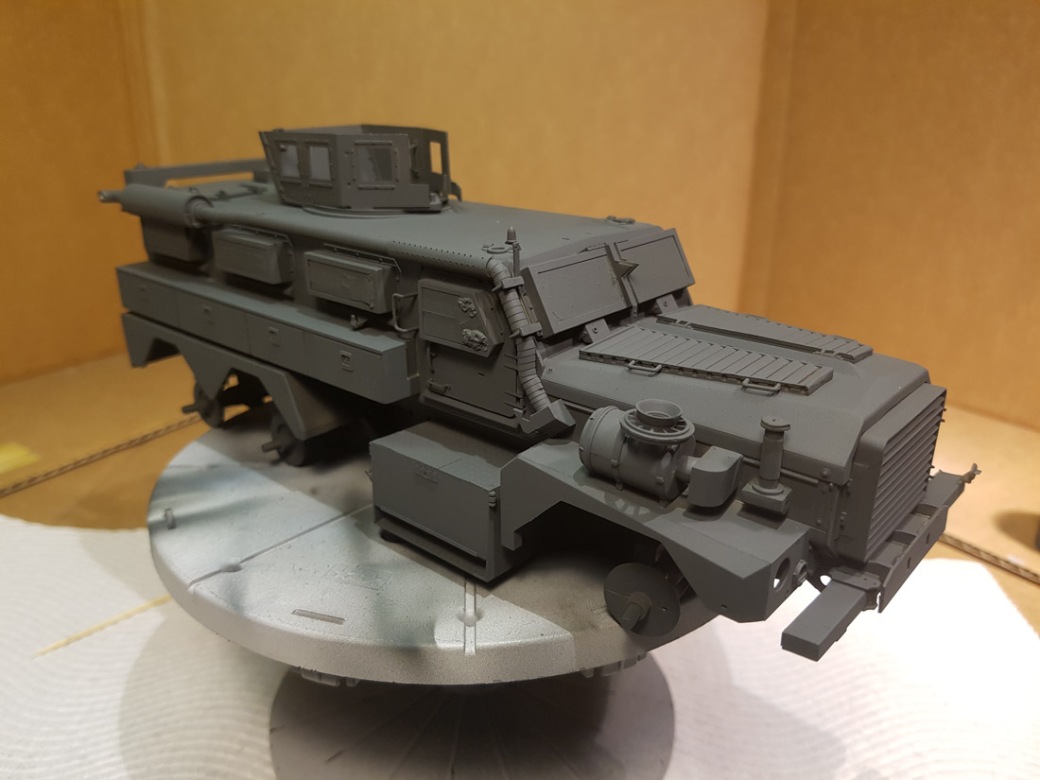
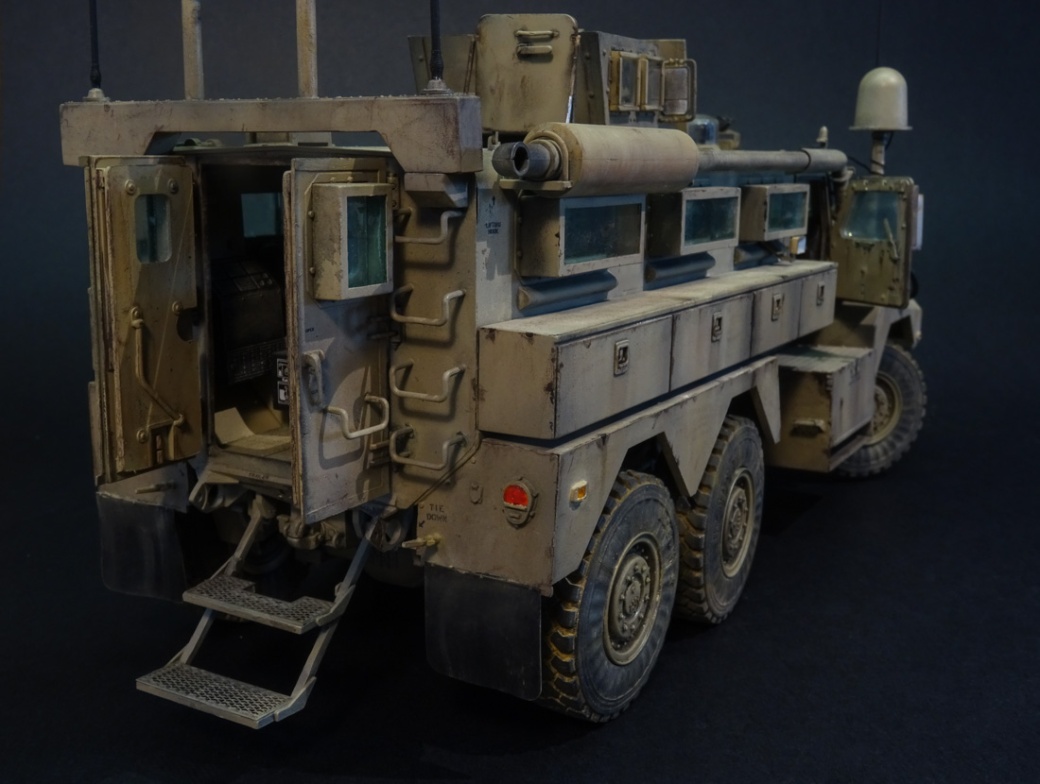
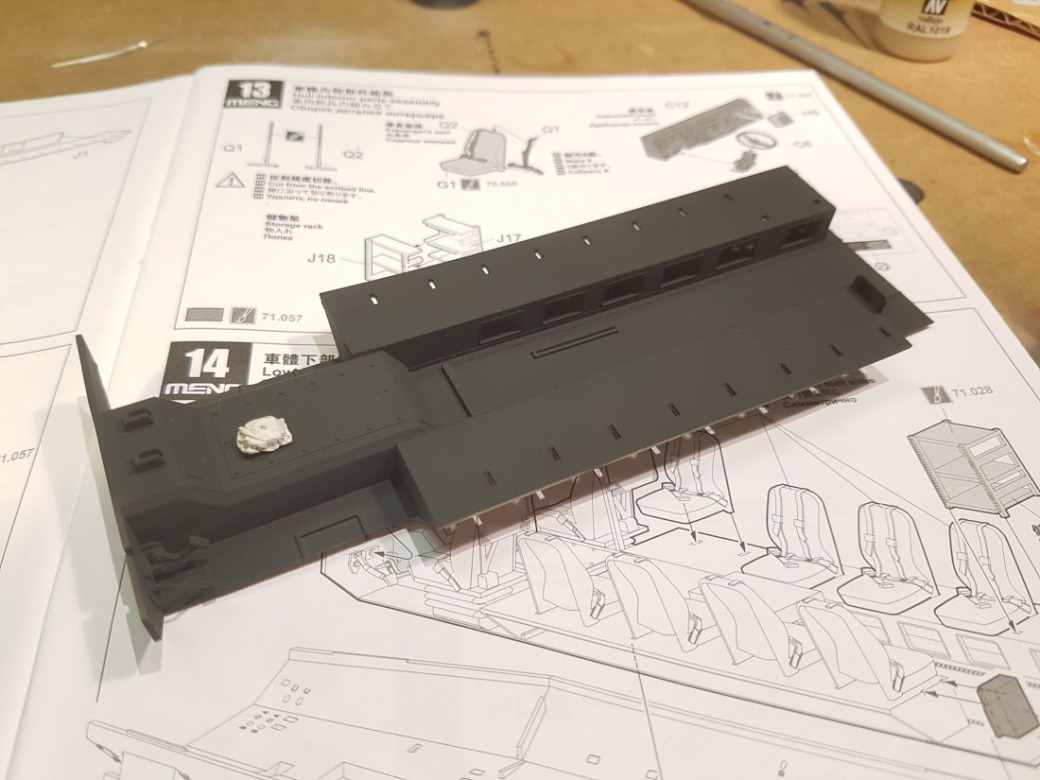
With the interior done I needed to mate the upper and lower chassis halves – and this was more difficult than it needed to be. I had to be very careful when pulling it over the photoetch mesh behind the cabin seats, and then found it was still difficult to make the halves line up. This is mostly due to the lack of guide tabs towards the back, but with lots of dry fitting you can make it work. I ended up just gluing a small section at a time and slowly working my way around the body.
Once that was done, the rear door frame could be attached. This wasn’t a problem, but easily could have been had there been any issues from the previous step.
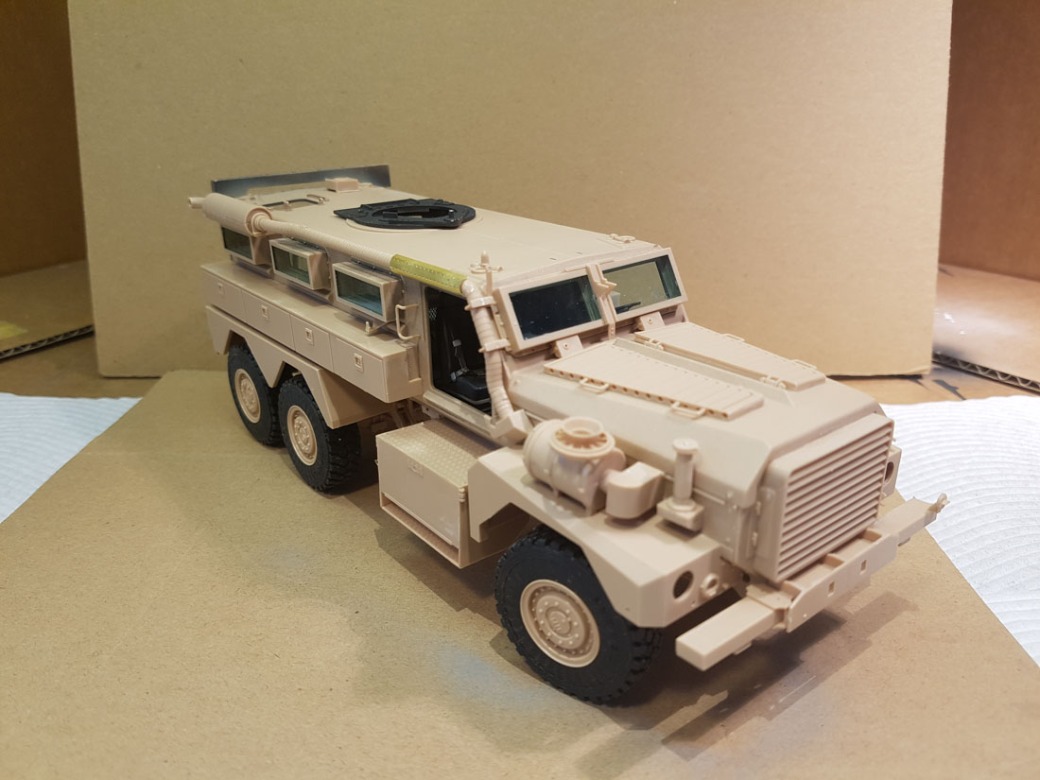
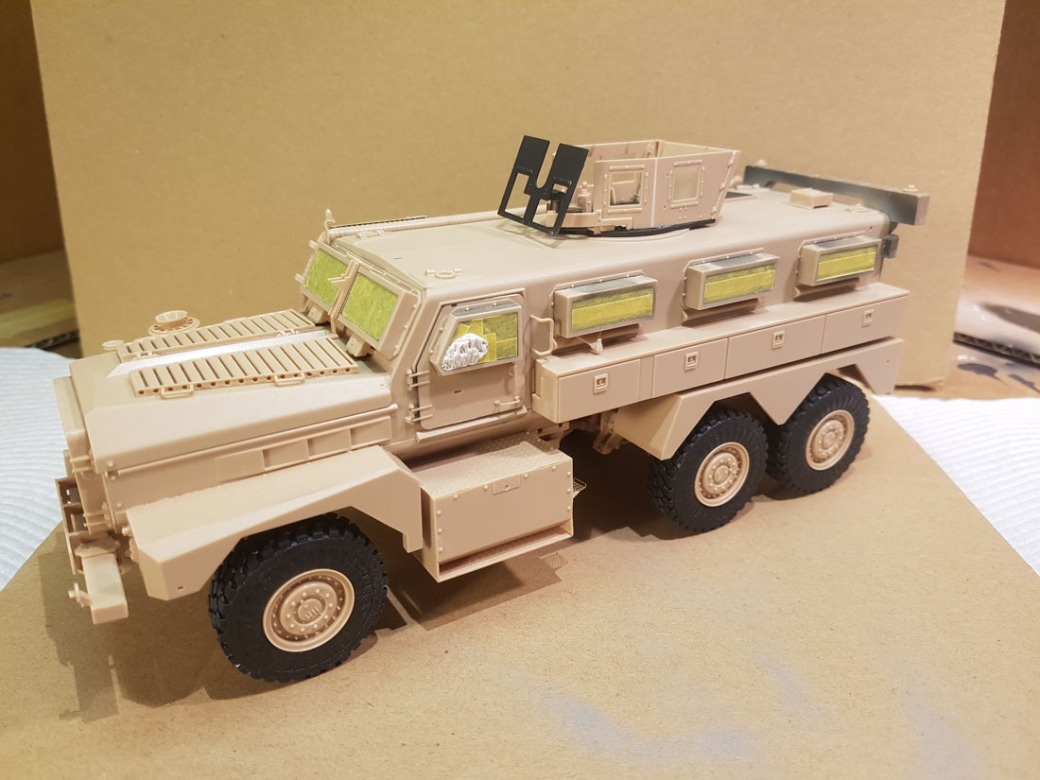
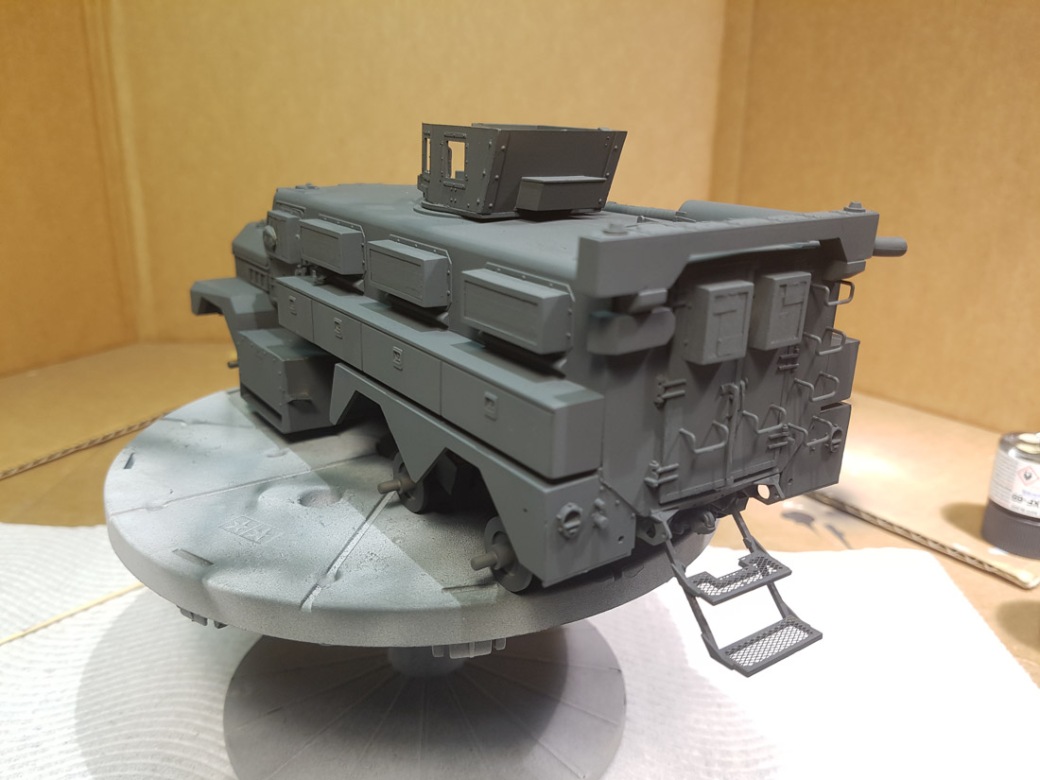
Everything else went together easily and it didn’t take long to have the kit ready to paint. Masking the windows was tedious, but nowhere near as tedious as masking aircraft canopies, so I won’t complain. Its worth noting that unless I did something wrong, the roof machine gun with its ammo can attached doesn’t fit well – the basket that holds the ammo can gets in the way of the left armour panel, meaning that if you look at the finished model from the top, the gun has to be slightly turned to the right.
Painting started with the usual black basing – using Tamiya NATO black. Not only does this help show any imperfections that need fixing, but the model never looks cooler than when it is all black.
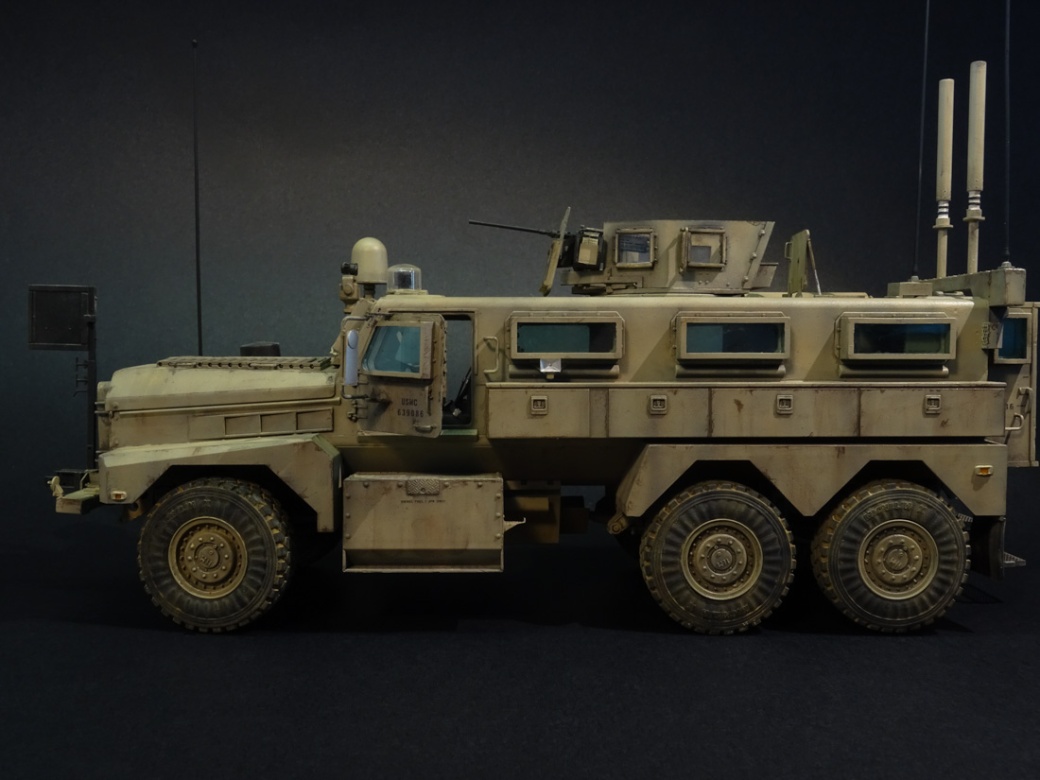
This was followed by a marble coat then top coat of Vallejo Model Air sand yellow. I really liked the look of the marble coat – I think it would make a fantastic camo scheme. Unfortunately it had to go.
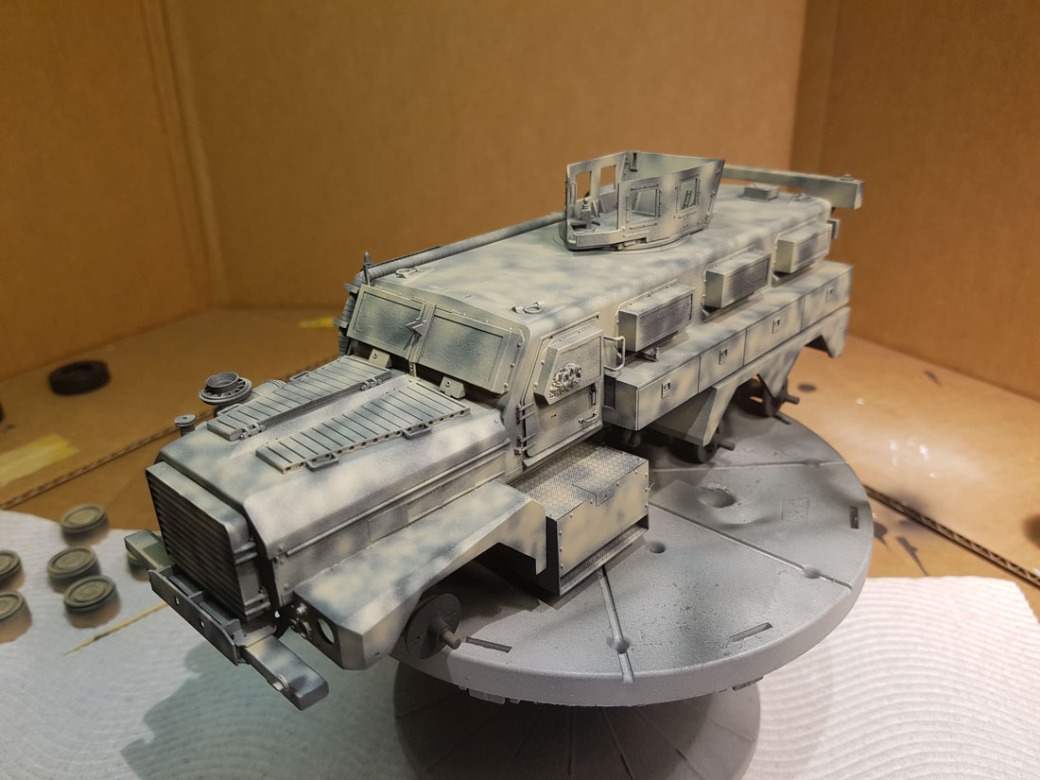
When I applied the top coat I knocked back a bit too much of the marble – the lighting in the next photo doesn’t help and makes it look even more washed out than it was – but still, I wasn’t happy.
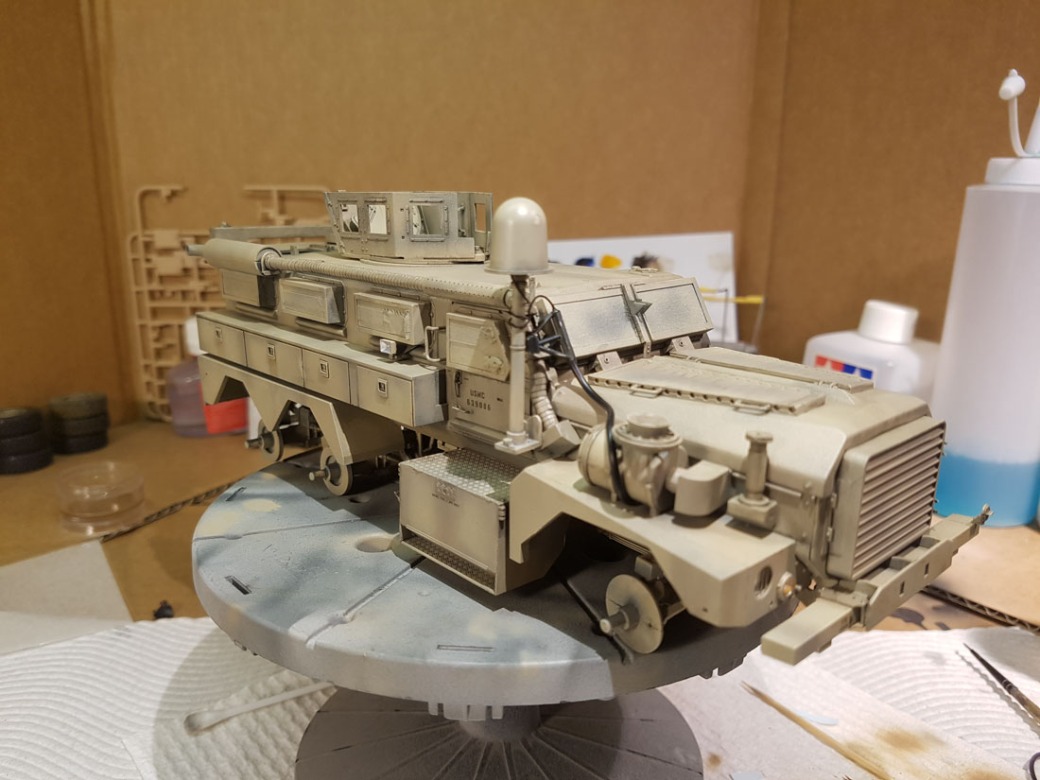
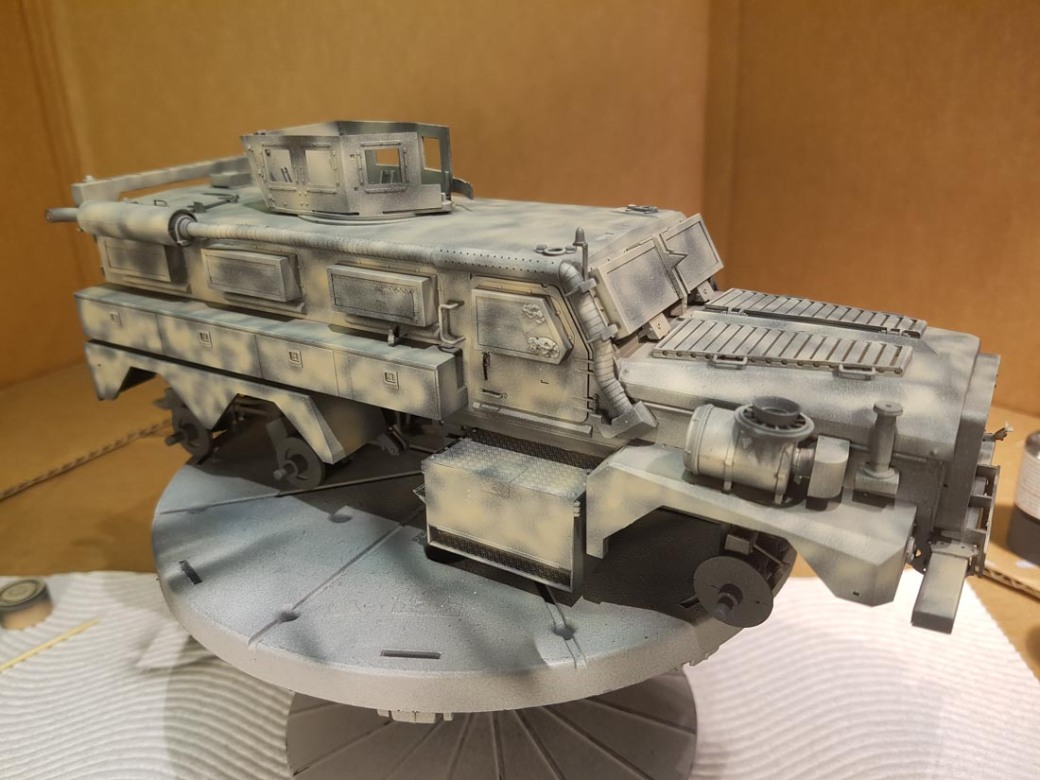
Following this I did some post shading and a panel line wash which brought the model back to where I originally wanted it. You can see that in the next picture, right before I started the weathering process.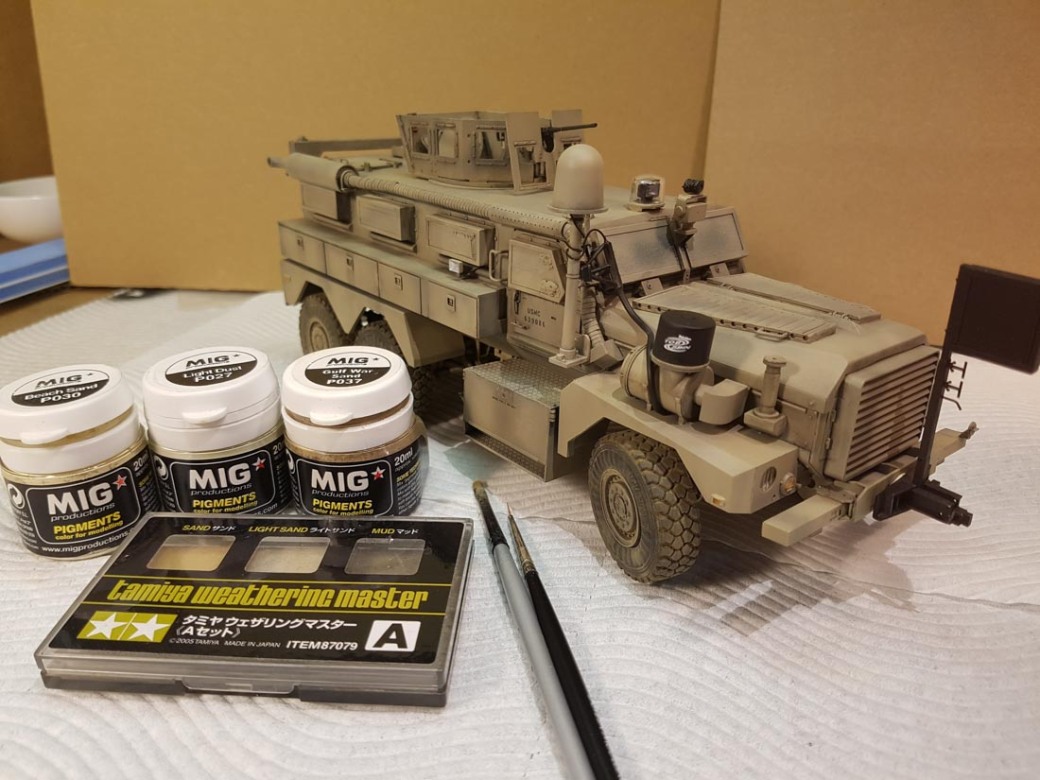
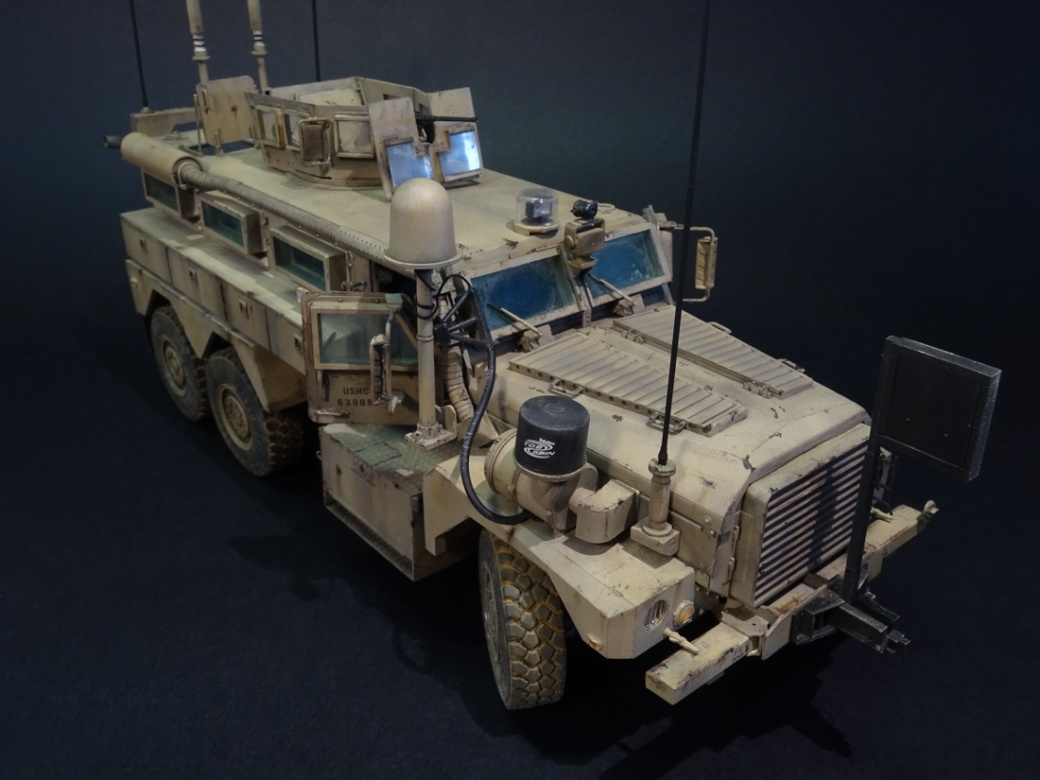
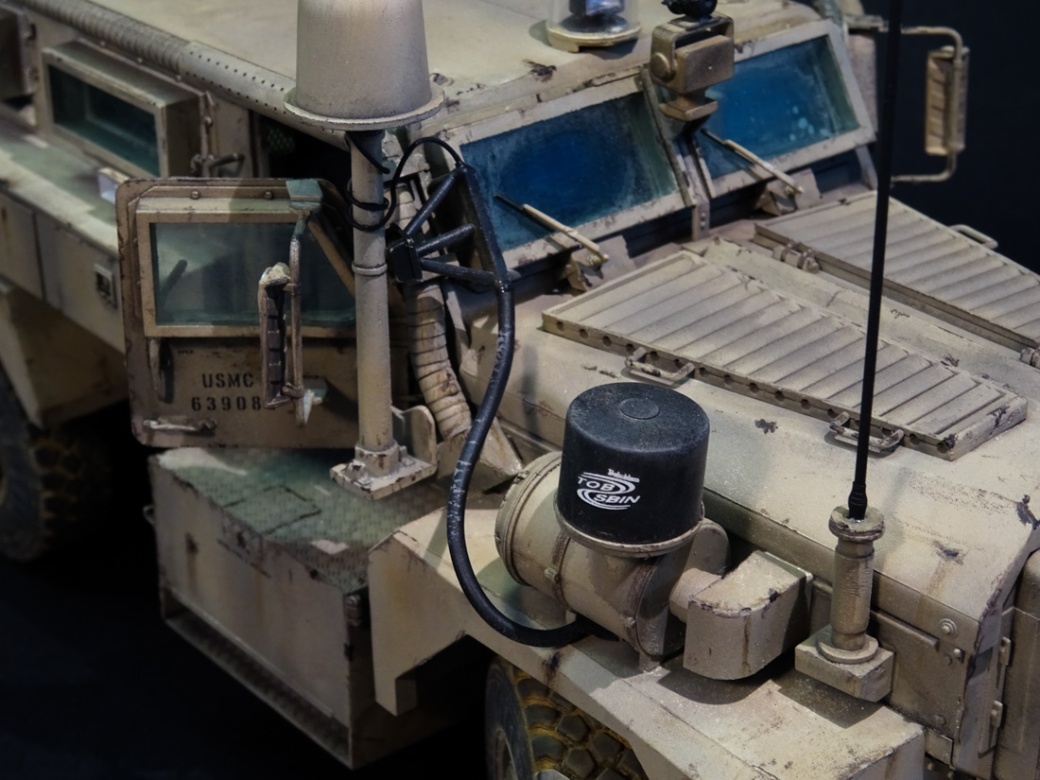
Pigments were mostly used just to tone down (or emphasise) colours where I needed it. Most of the weathering was done with coloured pencils. I like using pencils was they react well to water/rubbing, mistakes can easily be fixed and the hard long side of the ledge can provide a realistic ‘distressed’ look on rough metal surfaces.
A note on the weathering – it was really hard to find any photographic evidence that these vehicles get heavily beaten up. Almost every photo I found showed them in pretty reasonable shape and surprisingly clean. In the few I did find where they looked like they had just come through a battle, the resolution wasn’t good enough for me to really get a good idea of realistic weathering. A nice follower on instagram warned me to stay away from rust on the hood as the materials used don’t rust. With that in mind, I didn’t rust anywhere, focusing mostly on chipping and dirt stains.
As I’m a terrible photographer, there is a tonal/lighting difference between a lot of my photos. I’m working on it!


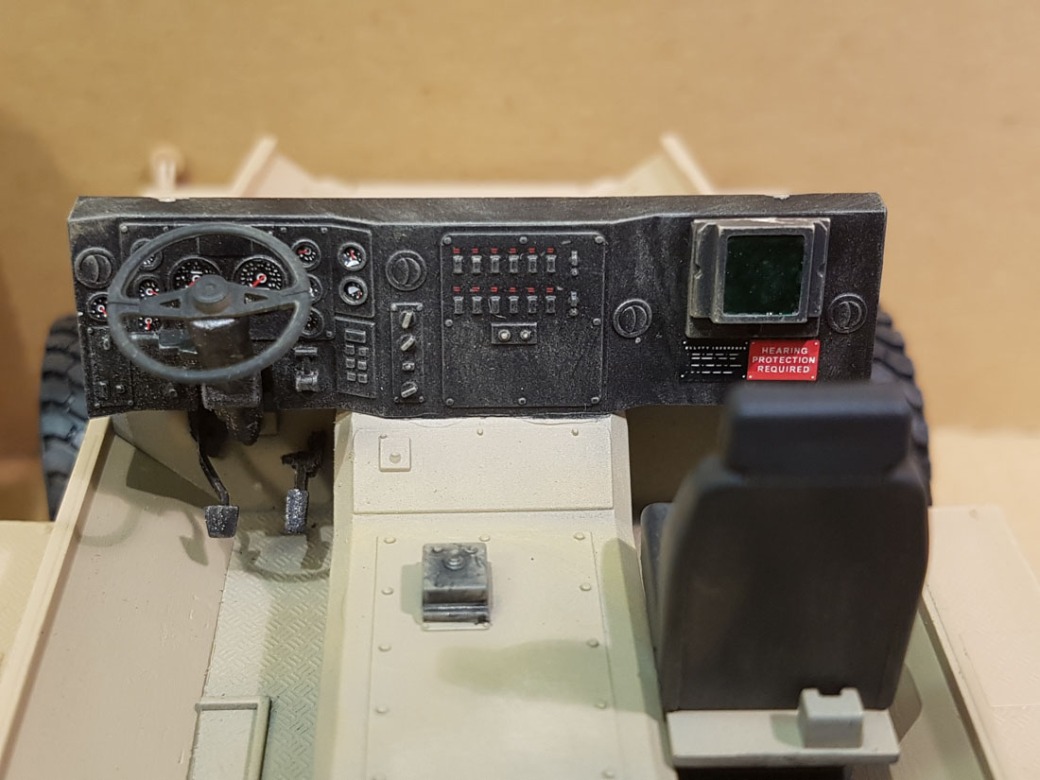
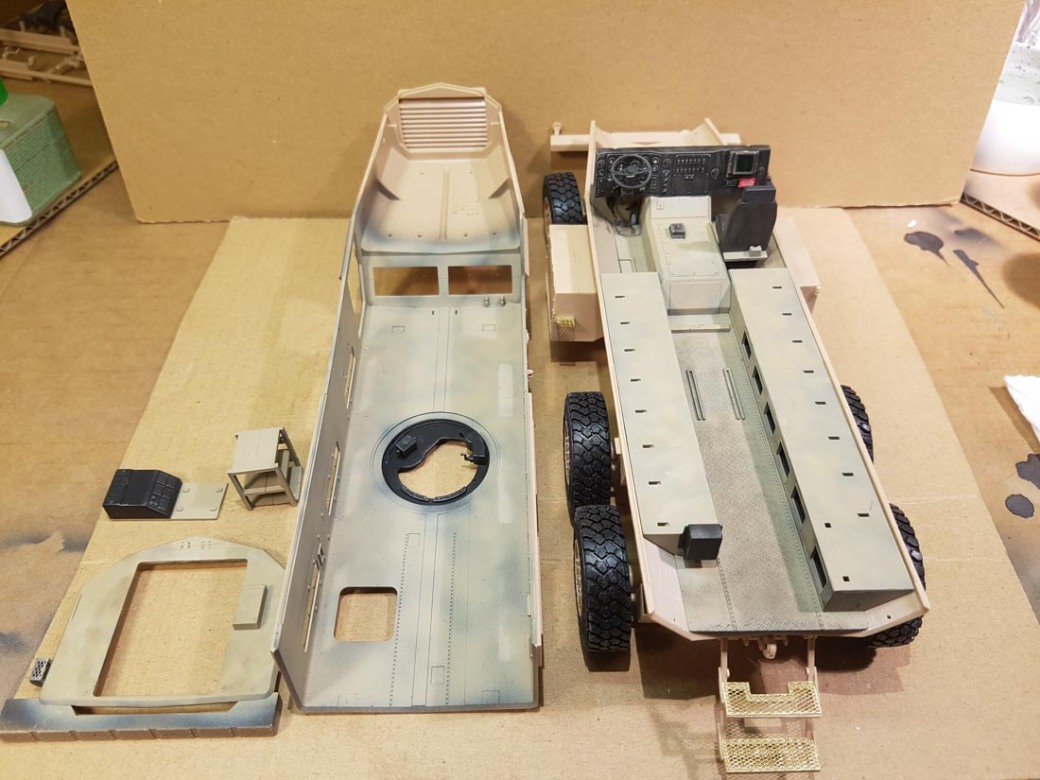 The cabin dash has some nice details, easily bought out with some simple dry brushing. The dials are decals which I had some problems applying. They’re each slightly larger than the ‘holes’ they are supposed to fit in, so they were unnecessarily fiddly. Once in place (or as close as to in place as I could get them) I used Micro Sol to help them conform. If you look carefully you’ll probably notice some of them aren’t quite placed perfectly.