I purchased this Kitty Hawk 1/35 Little Bird at the 2018 Illawarra Model Expo for $60AUD – which for the amount of plastic included (3 sprues, + 1 clear and a PE fret) puts it up in the premium price range. I only mention this because, apart from having a nice, under-represented subject, this kit was anything but premium. I’m happy with the outcome, but very critical of the kit itself.
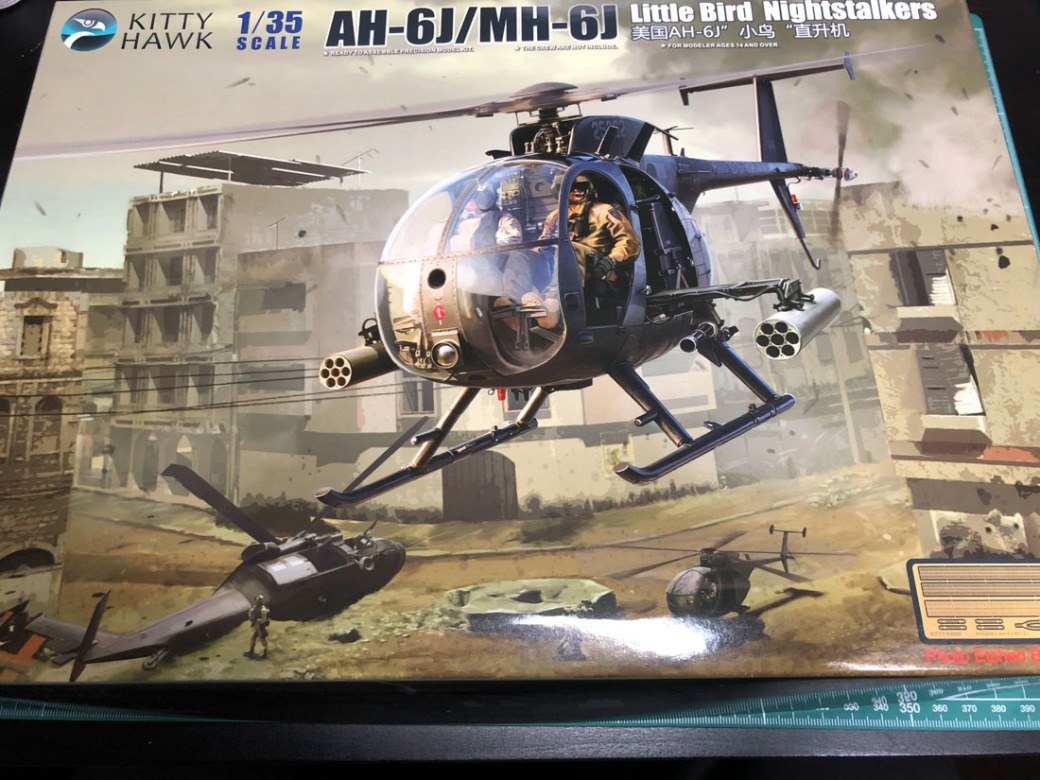
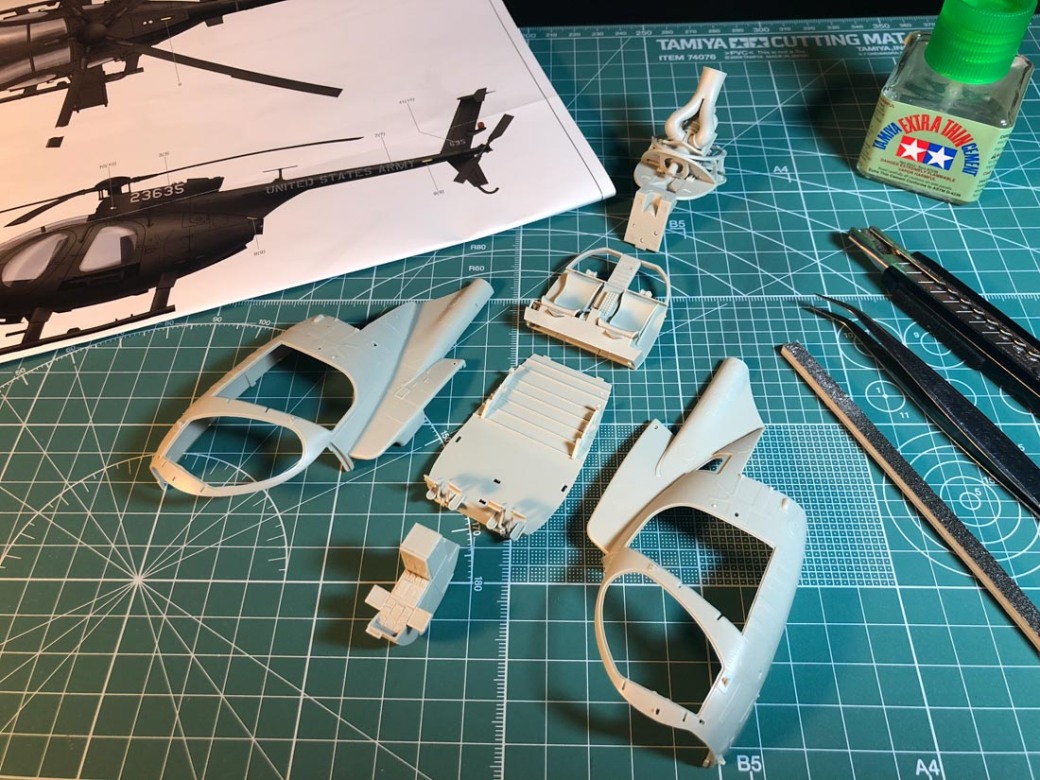
Finding good reference photos online turned out to be incredibly difficult. I found four good ones and the rest were too blurry/unclear to be much use. There were a few times I went to the box art for clarification as well – don’t do that – it’s not reliable. Neither are the instructions. I’m going to say at the start – I honestly don’t believe that anyone from Kitty Hawk actually built this kit, and most certainly whoever prepared the instructions didn’t. In many parts the instructions are vague, unclear and in some instances, flat out wrong. I’ll point out the important issues, but the list is certainly not exhaustive.
Steps one and two have you putting the engine and bulkhead together – this was my first clue that construction was going to be a chore. There are a number of places where the drawings aren’t detailed enough to know where parts go. Parts B70 and B72 are around the wrong way in the instructions, however even when swapped don’t fit right. The most important step here is mounting the engine to the bulkhead. If it isn’t perfectly centered, you won’t be able to put the engine doors on. Mine was slightly off, which I didn’t discover until further into construction and had to do a bit of surgery to correct.
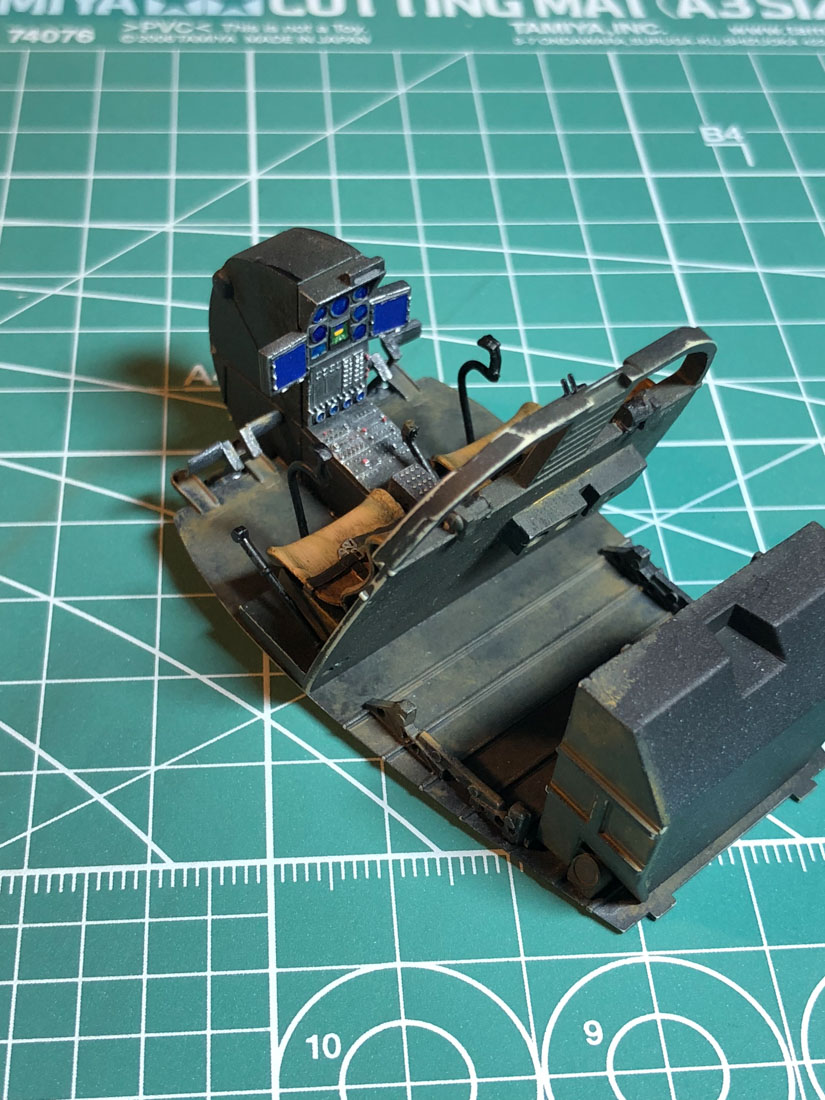
Steps 3-8 cover the construction of the interior. Most of this when together pretty well, with the following exceptions:
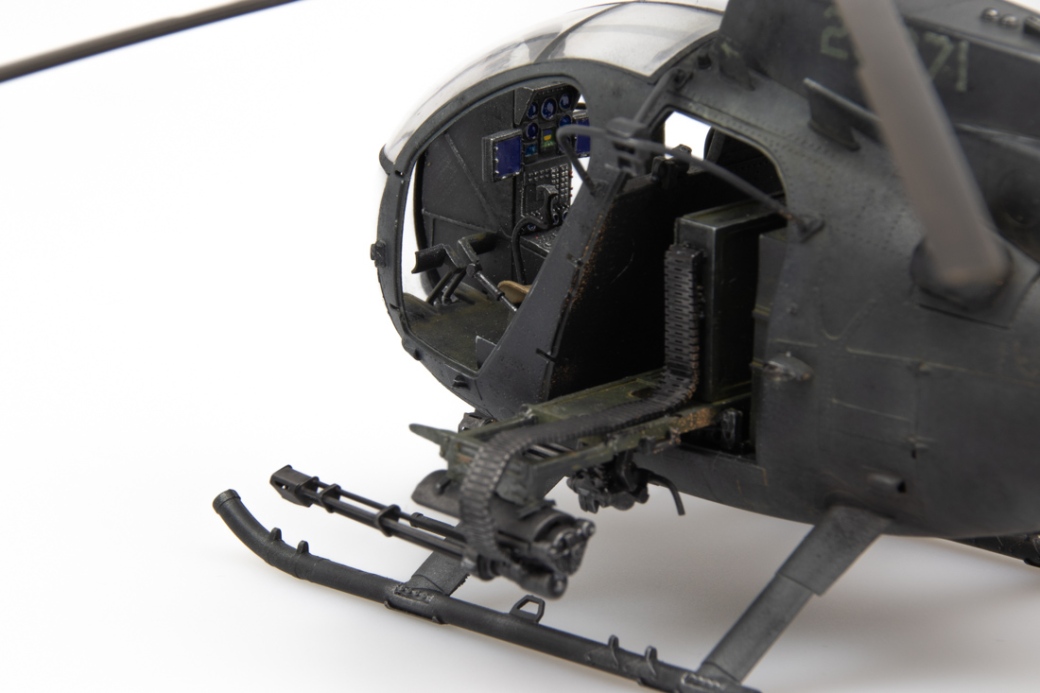
- The cockpit decals are rubbish and were quickly discarded – although I cut out and used some individual dial decals
- The mounting holes in the seat bench for attaching part A9 do not exist on the part
- A18 and A19 are a bit unclear in the instructions – dry fit first. These parts also have the flash that is on them, drawn in on the instructions, as though it is part of the part. It is not.
- A38 and A39 are the mechanisms for the seat harnesses, but the instructions clearly show the harness just attaching to the back of the seat. This is incorrect (as far as I can tell…)
- One of my foot pedals (B48) was severely warped. I’ve read of some people getting theirs completely short shot (where the plastic doesn’t completely fill the mould during production, resulting in missing or incomplete parts)
- Placement of B43 and B44 is very unclear. I just guessed.
The rest of the interior went together fine.
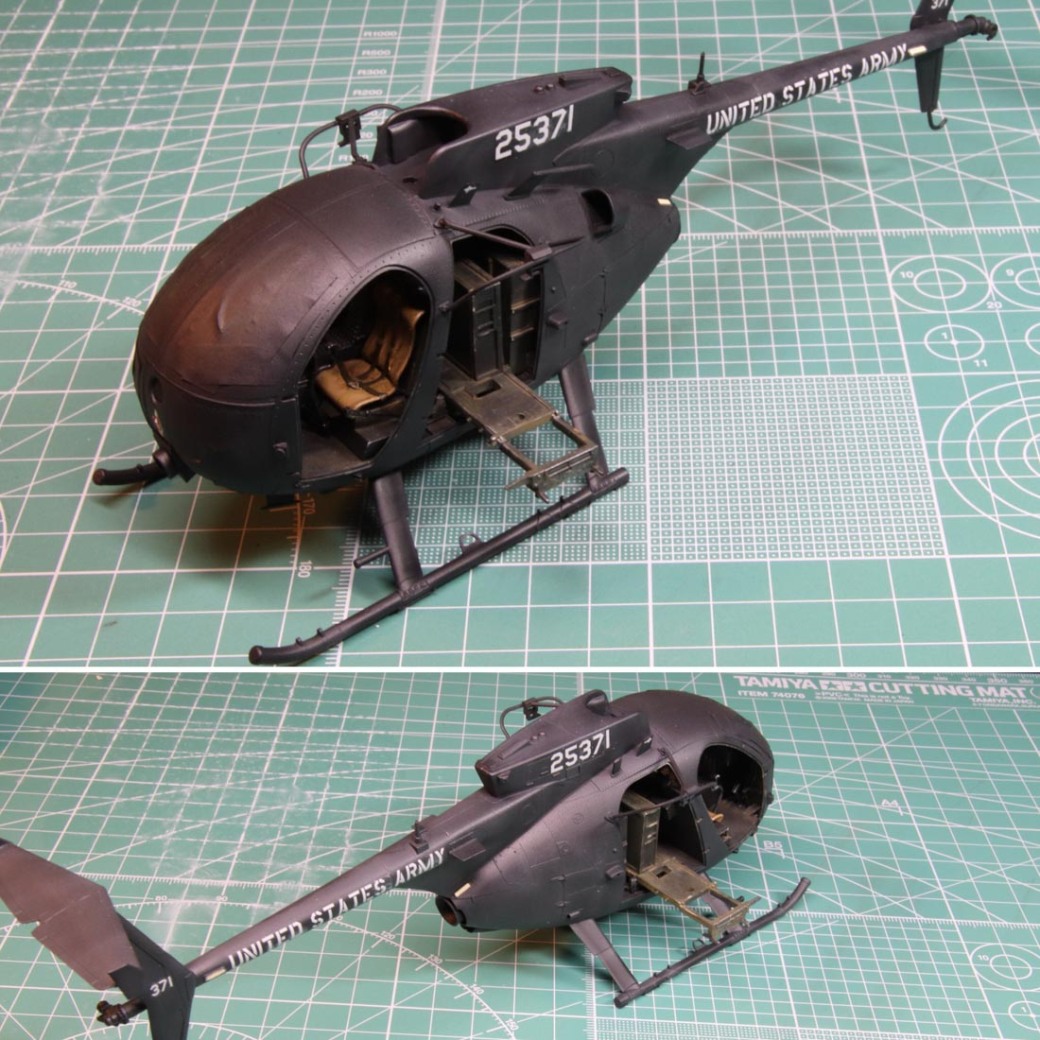
Closing up the fuselage halves was surprisingly fairly smooth, however it triggers the first major fit problem.

There are mounting tabs on both the seat and engine bulkheads that slot into the holes on the inside of the fuselage. These ensure the interior sits correctly inside the fuselage – however it doesn’t. Or at least, the front console doesn’t. This caused some major issues in the next few steps.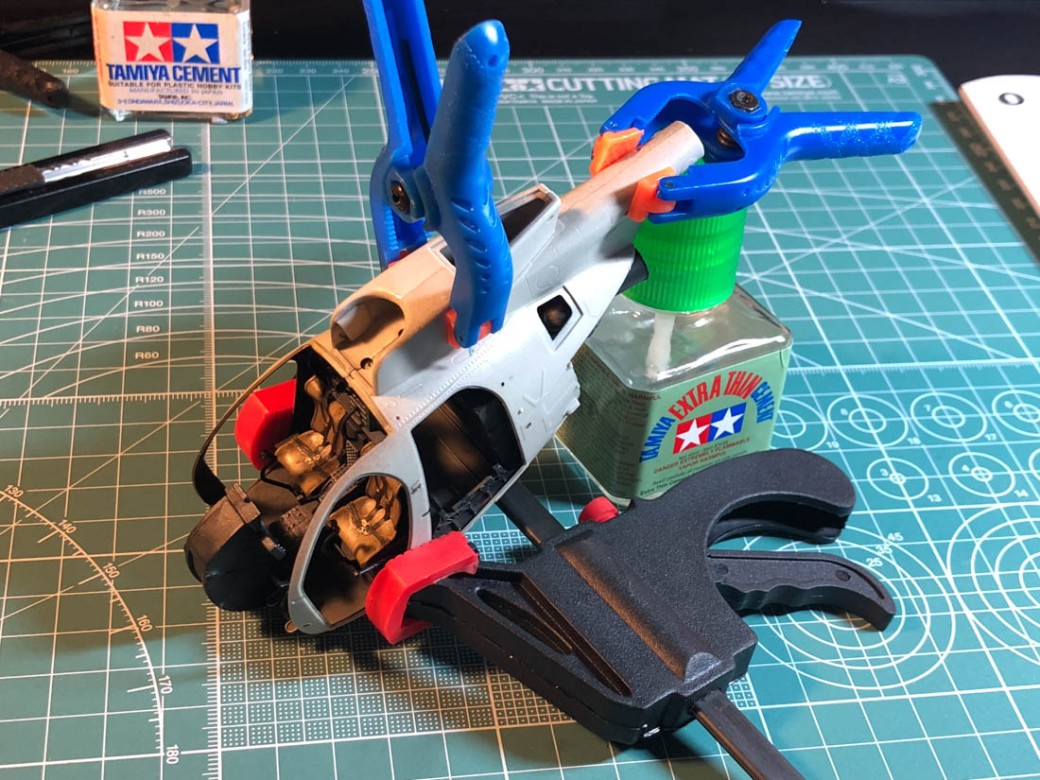
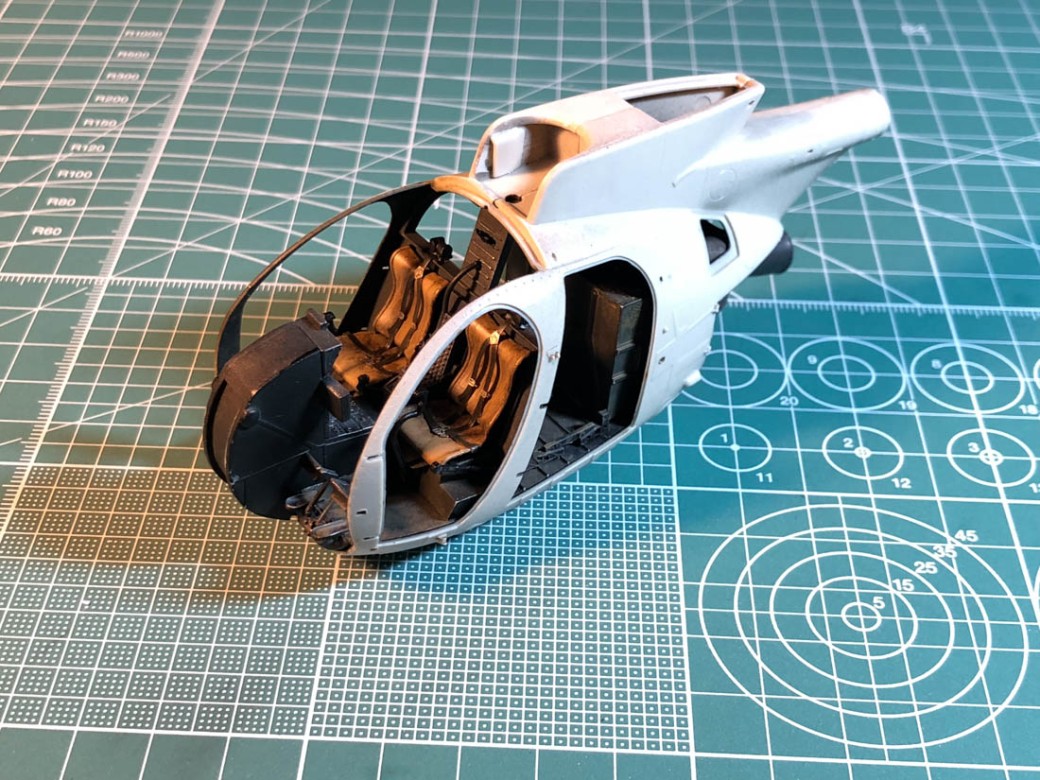
You can see in that last picture that the seat bulkhead is as far back as it can be without obstructing the doorway.
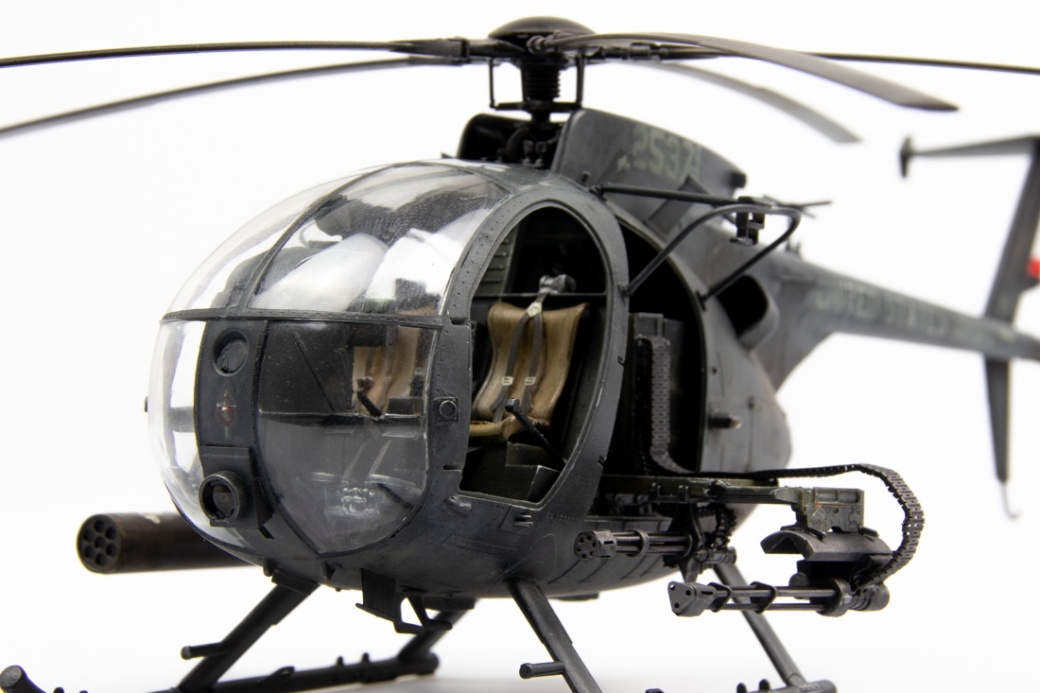
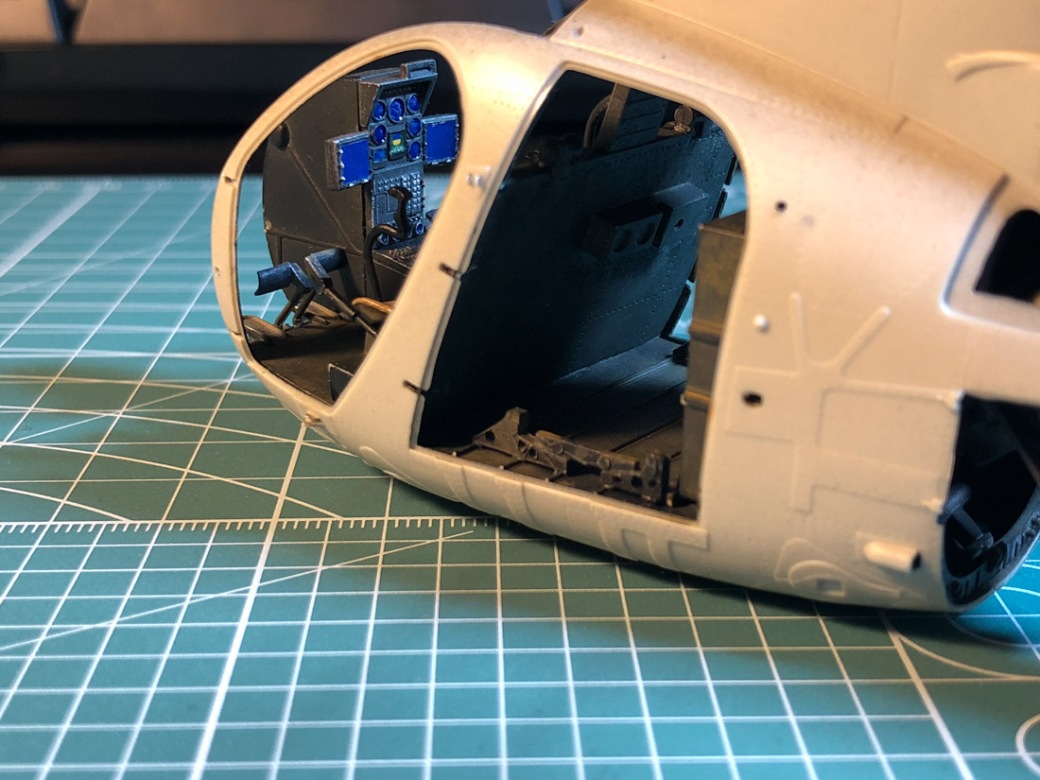
Step 10 covers attaching the front canopy, however it didn’t fit. The centre console was too far forward and pressed against the canopy, meaning it couldn’t make contact with the fuselage properly. The solution here was to sand back a significant amount of the centre console. I did this with a Dremel – and made a hell of a mess:
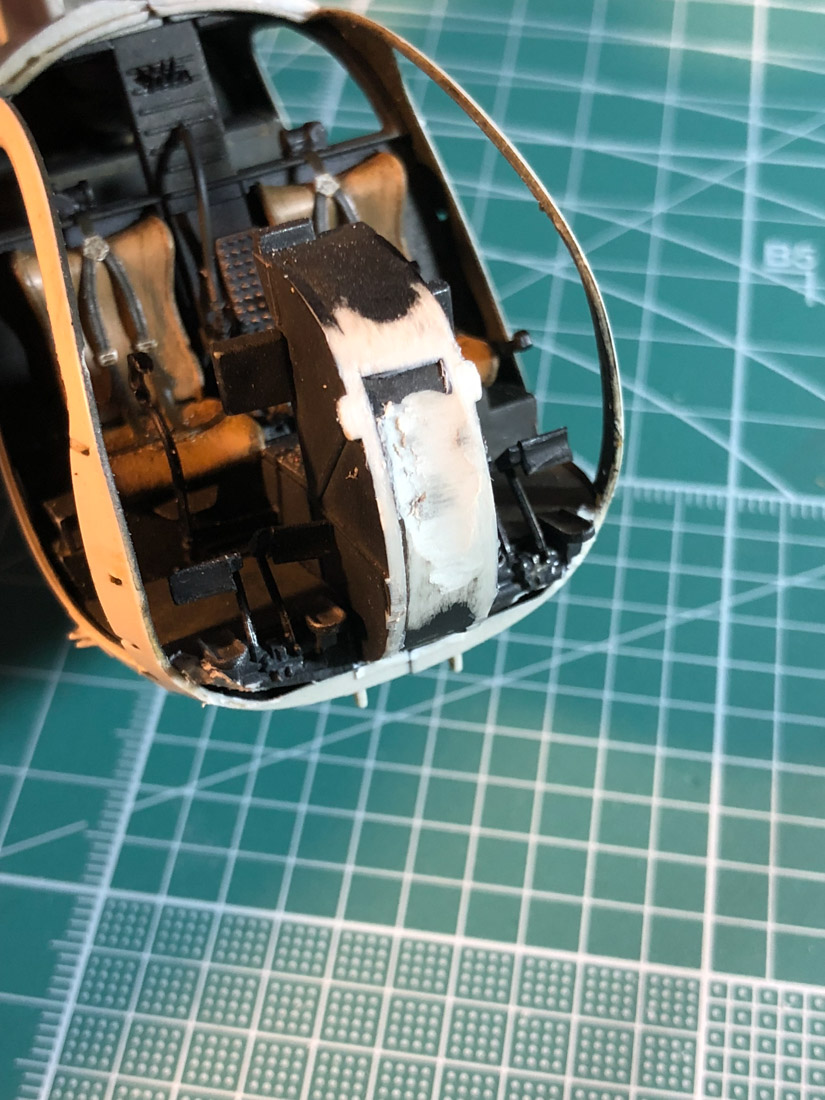
I also had to sand back part of the interior floor and some of the rudder pedal mechanism. This is pretty disappointing. It took quite a while clean this whole area up properly and repaint so as too look respectable.
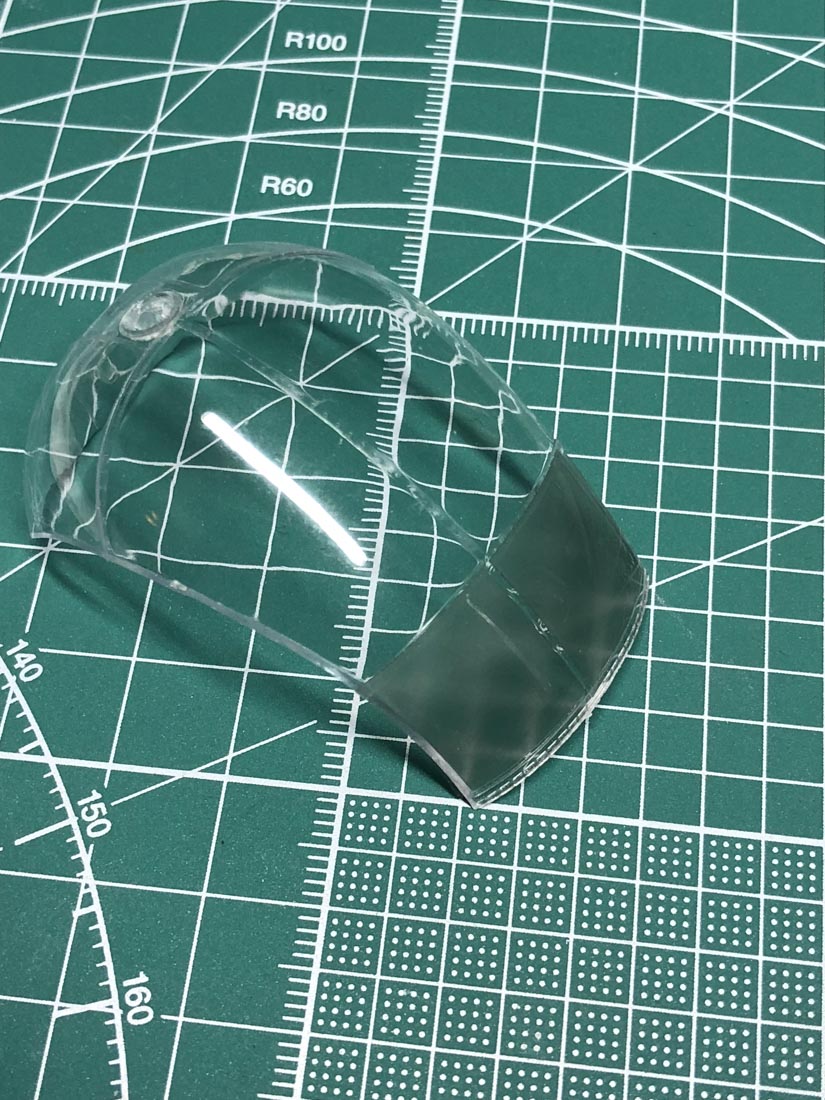
I purchased some aftermarket masks for the canopy, and they were very good, though I’m not sure they saved much time. Part B29 doesn’t have any mounting indications so you sort of just have to guess. I used a piece of blu-tack when dry fitting to see where it would should go.
Once the canopy was installed, I needed to fill a number of gaps where it still didn’t fit properly to the fuselage. Following this, I started working on the skids. Dry fit all of the parts carefully – most parts are switched incorrectly in the instructions – particularly B60, 61, 64, 65, 66, 67. Also, the placement of part A30 in step 10 is different than what is shown in step 13.
The engine doors (C3 and C4) didn’t fit on my kit, as the engine was very slightly skewed to one side. I was able to correct this with some additional support made from scrap plastic, but even then mounting the doors was still troublesome due to poor tabs and mounting points.
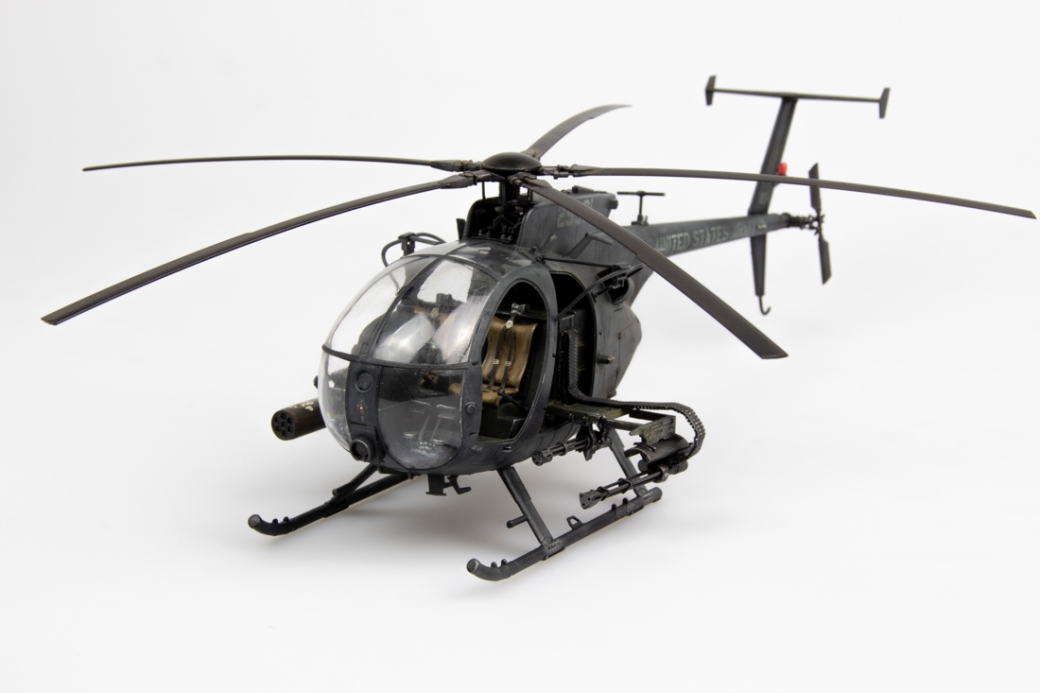
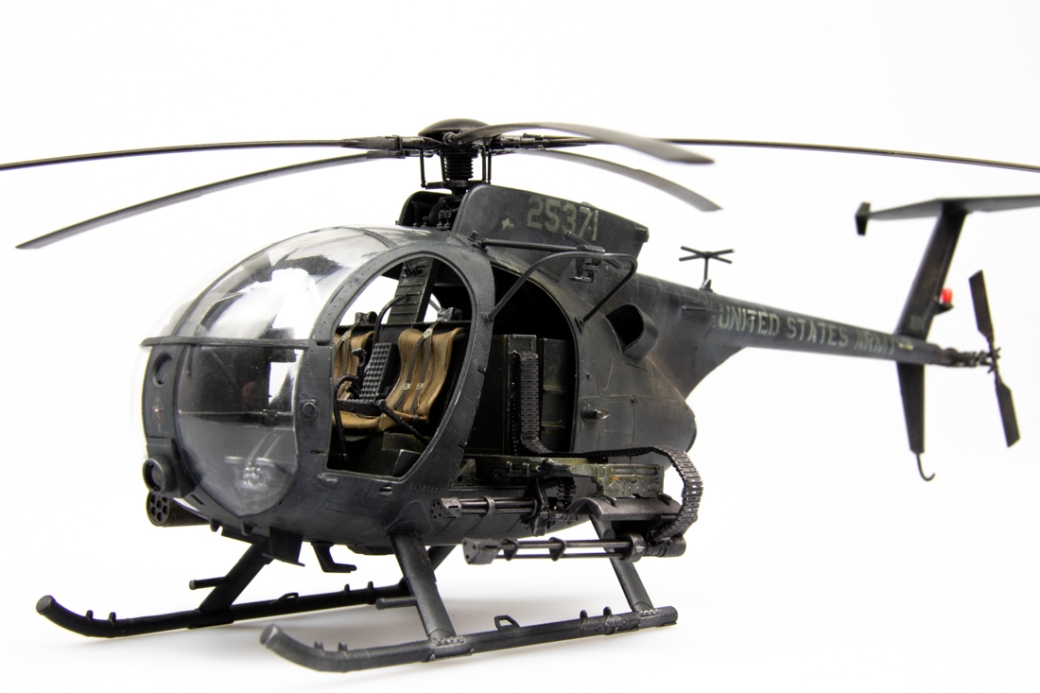
Building the tailboom you’ll notice on part A26, the cutout for the tail light is different to the box art and the first aircraft detailed in the painting guide. Additionally the double tail rotor and the sensor package on the front of the canopy are missing from the kit completely and aren’t mentioned in the instructions at all. Great – that was the bird I wanted to build.
I attached the skids and left overnight in a jig to dry at the correct angles.
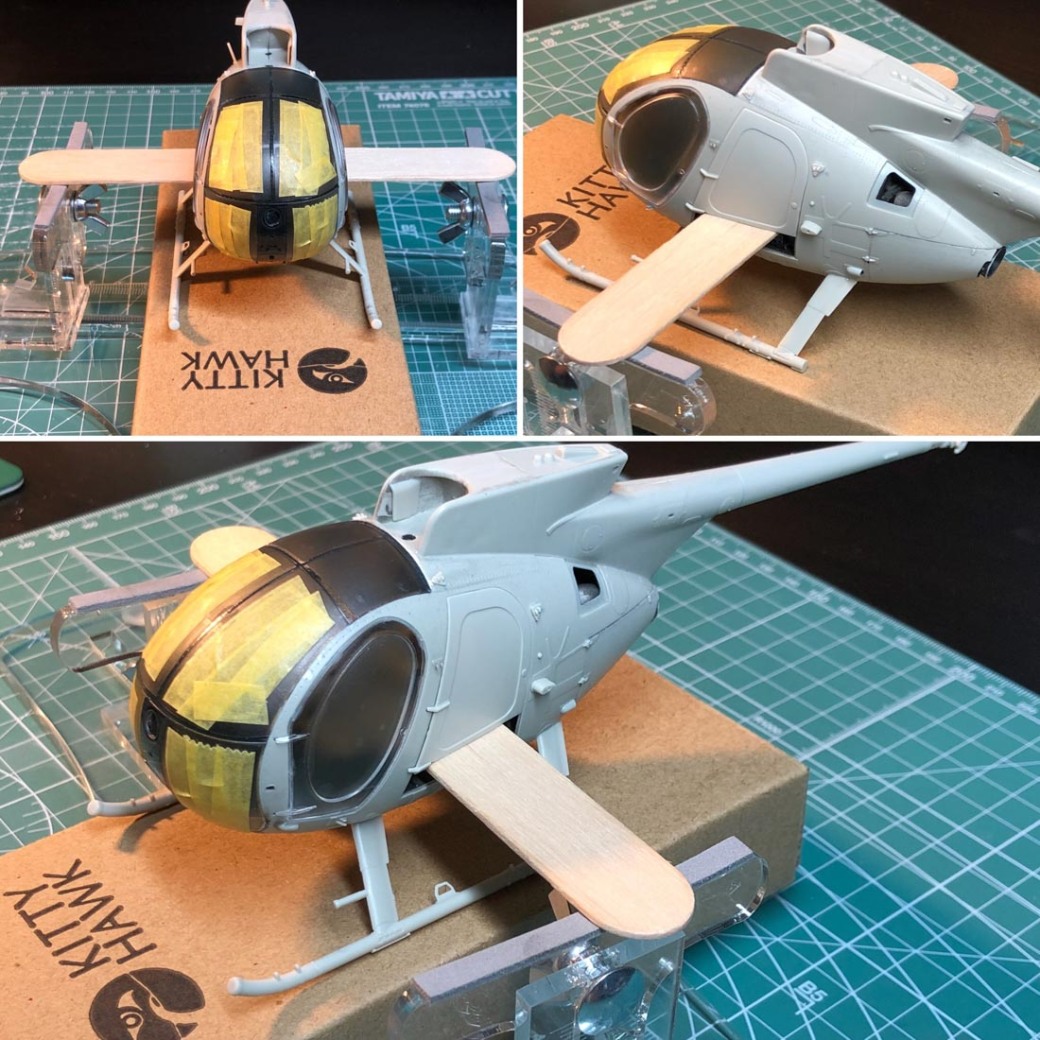
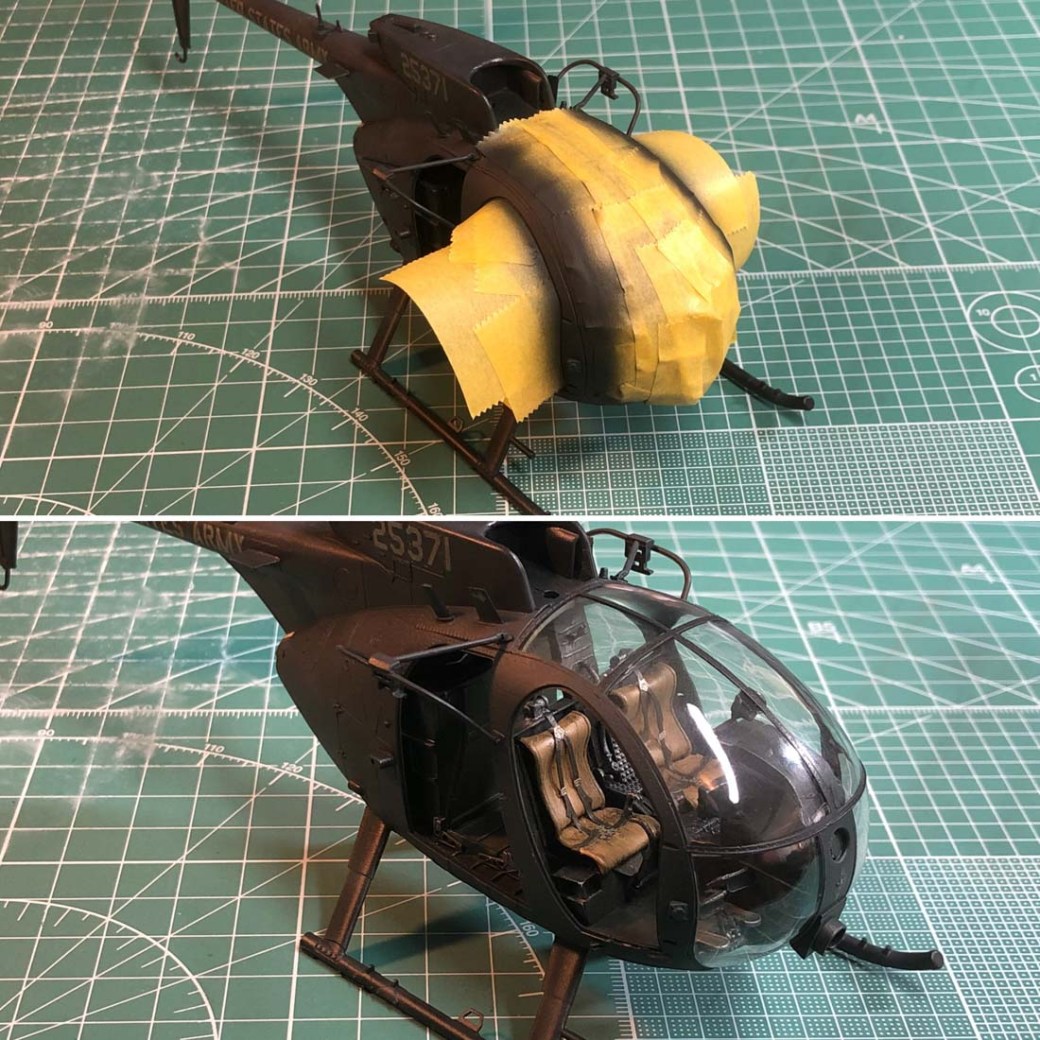
I always planned on having the doors off, however they were a good way to mask off for painting.

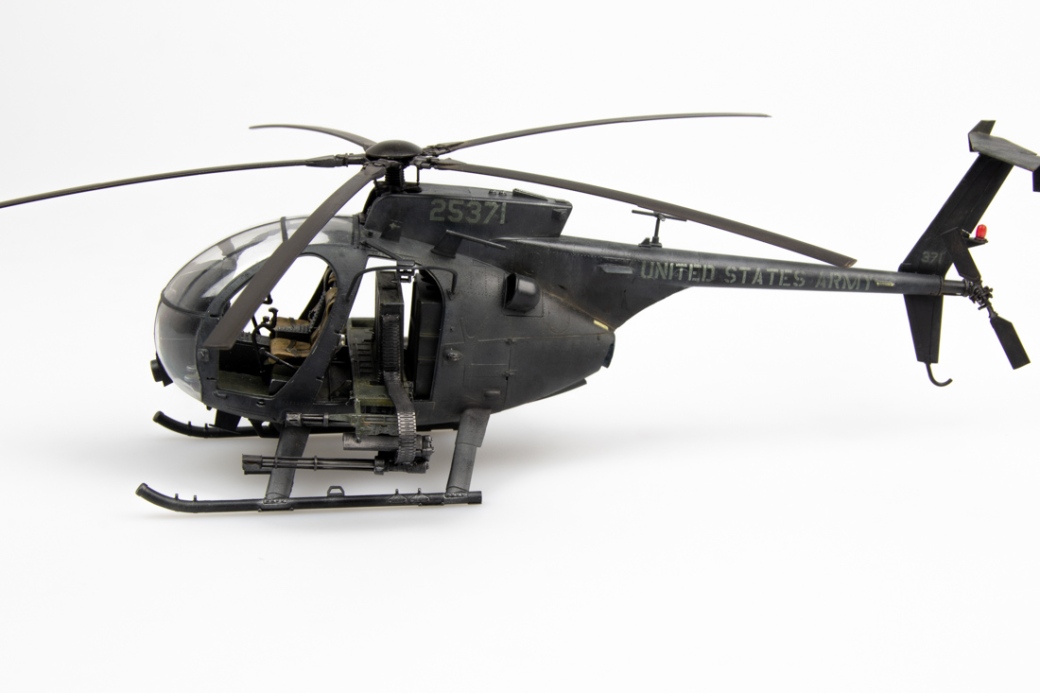
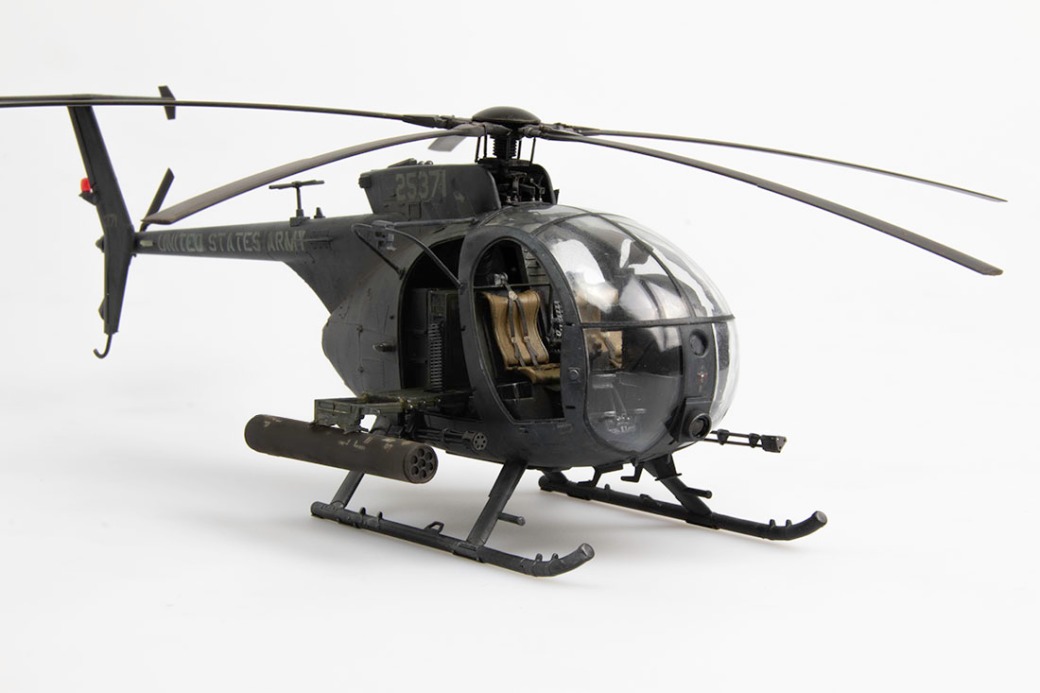
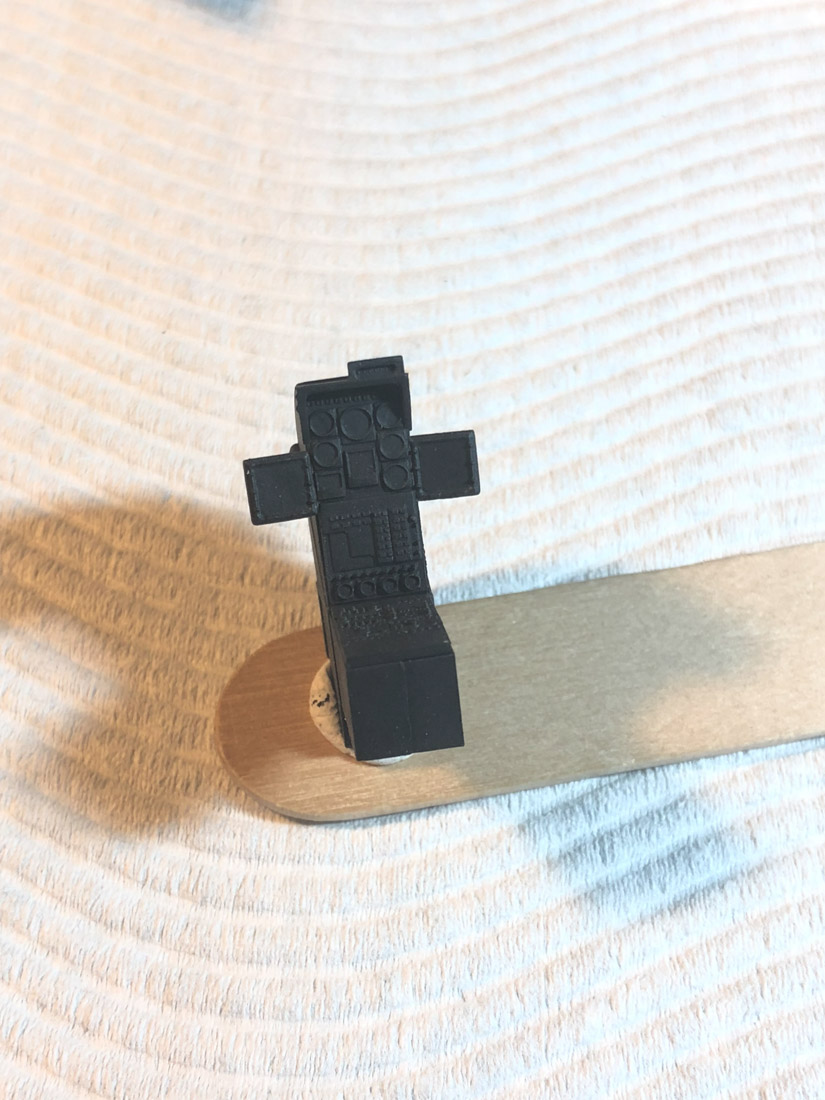
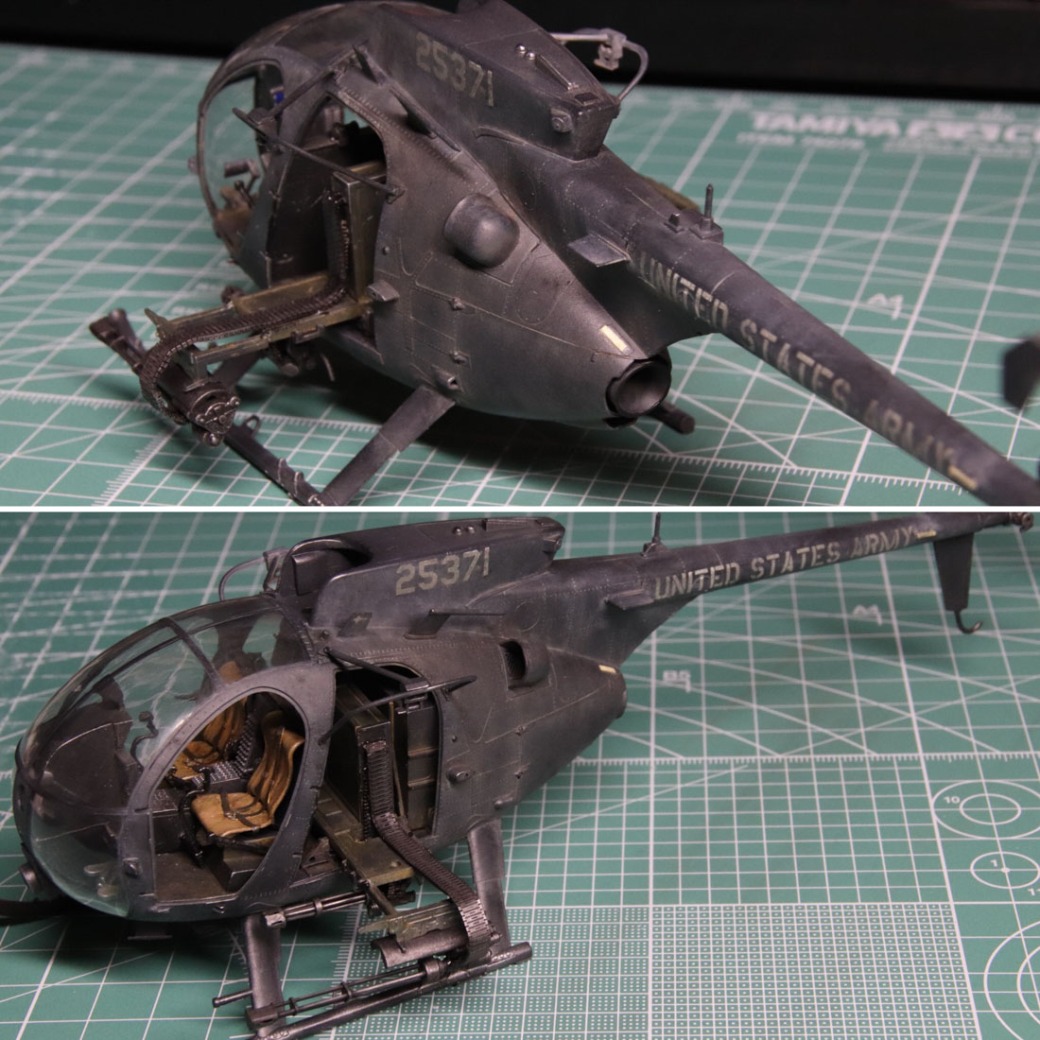
For painting, I applied a black base, then layered on NATO black for the main colour, with some highlights of German Grey. The instructions call for straight black, but in reality the aircraft seem to be more faded.
I then applied the kit decals. If you’re building this kit, buy some aftermarket decals – I believe Werner Wings do a number of good sets, with another set coming out shortly. Get them. The kit decals are an absolute torment. They don’t go down well at all, don’t respond well to setting solutions and most importantly, suffer immensely from silvering. I spent a lot of time trying to correct silvering, which was mostly successful.
After pulling the canopy masks off, I wasn’t happy with the quality of the edge that was created, so I remasked and resprayed and it turned out a lot better.
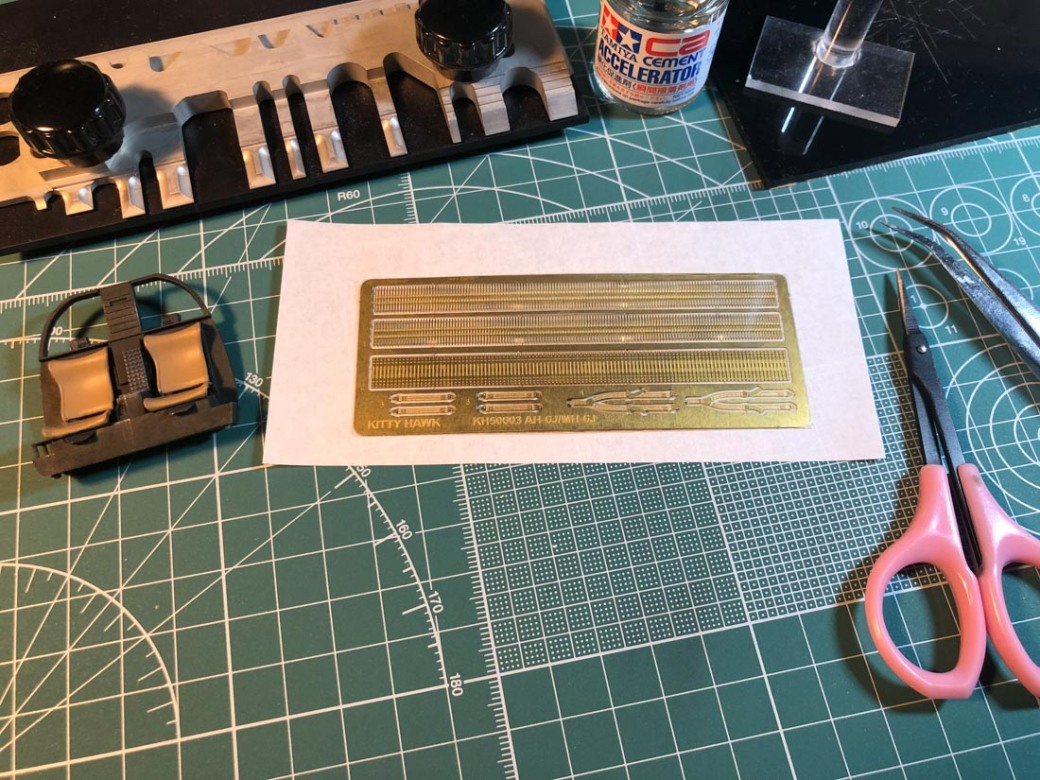
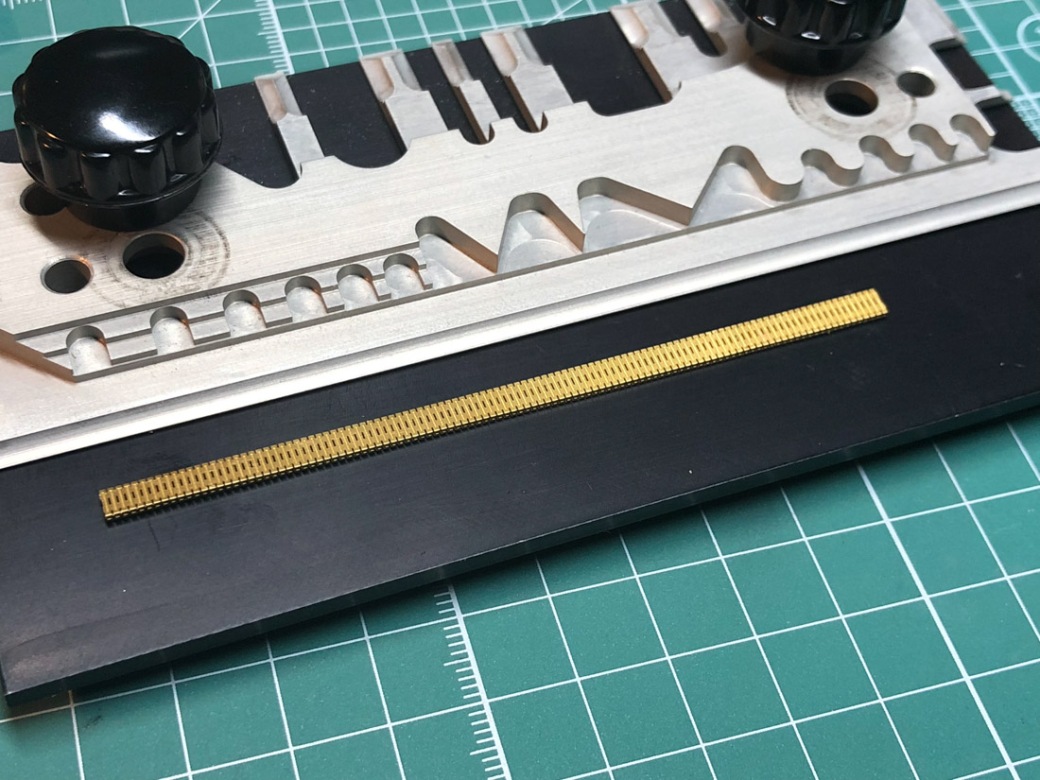
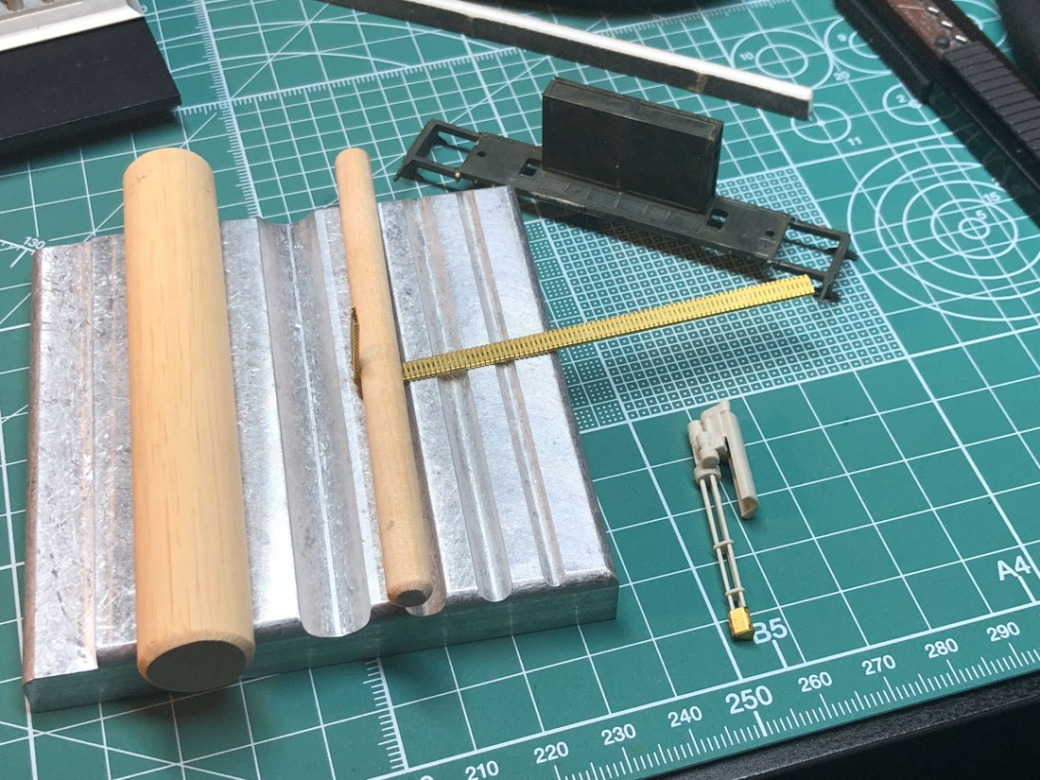
Building the guns was very fiddly. The photoetch – especially on the guns was difficult to get right. The belts that lead from the ammo box to the guns were small but with a Hold And Fold it was pretty simple. When building the MG-134 guns in step 11, be aware that the part B90 in the instructions is actually mislabelled on the sprue as B84.

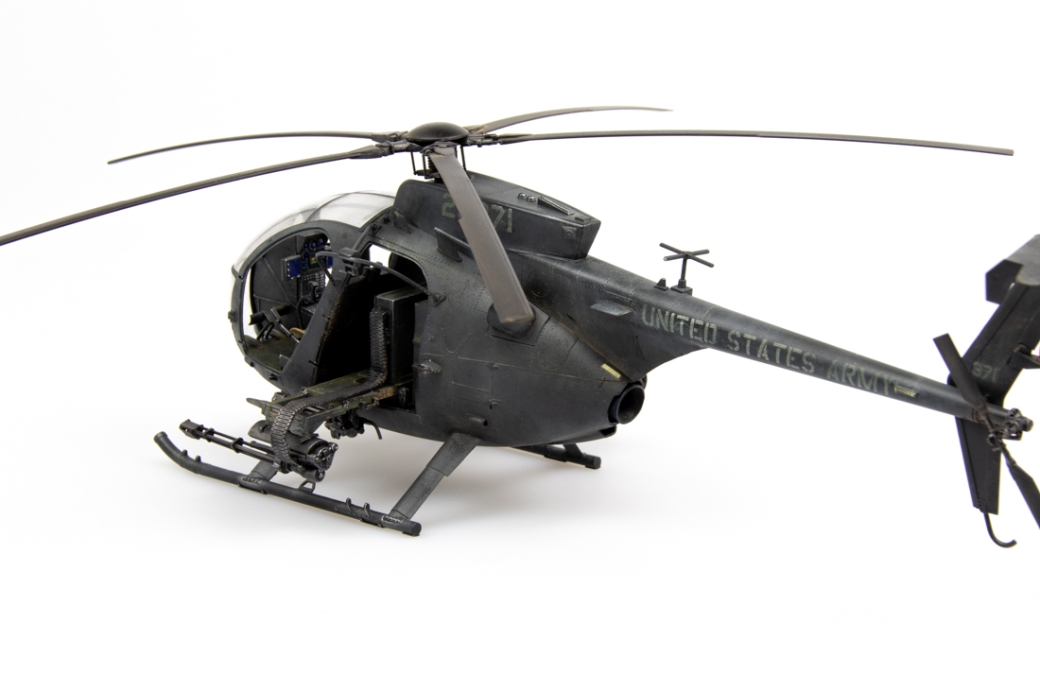
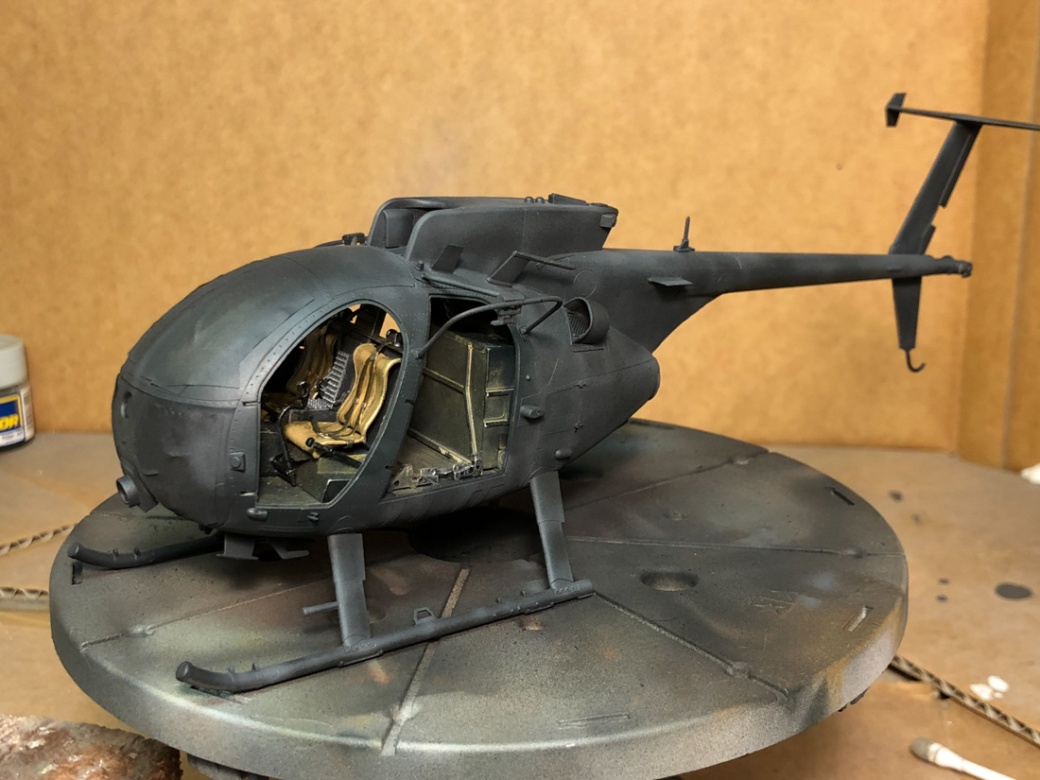
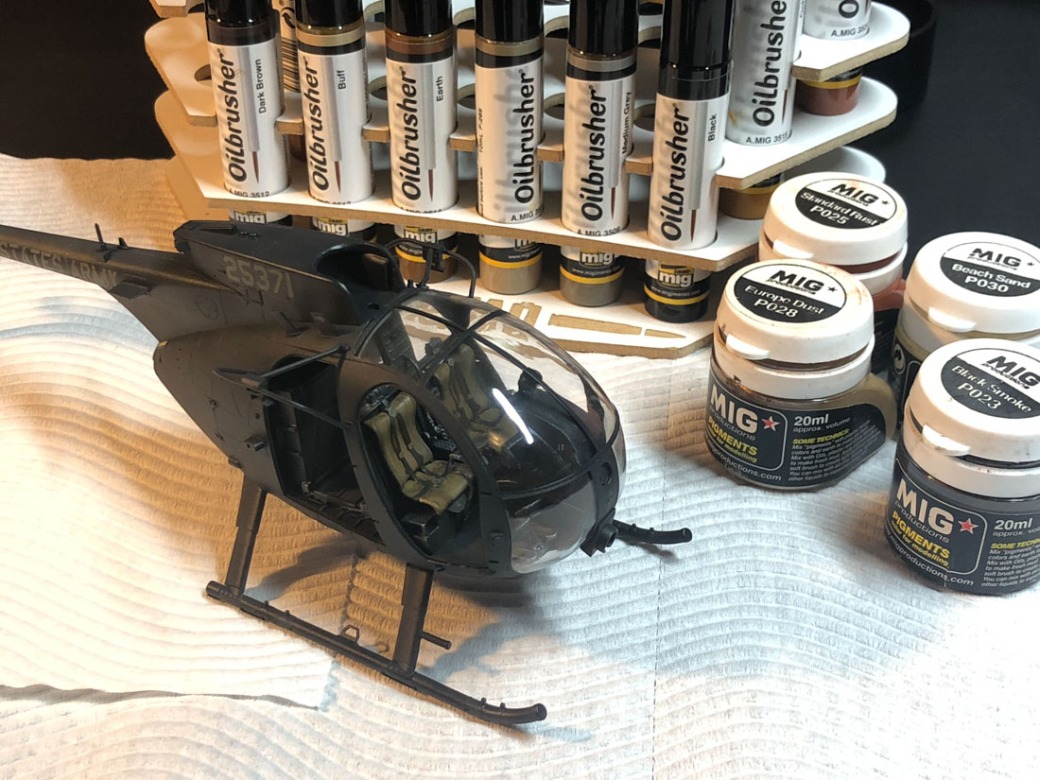
When deciding how to weather the Little Bird I wanted to be subtle. I couldn’t find any high quality pictures of it weathered and I was worried about going overboard. I stuck mostly to oils (using Mig’s excellent Oil Brushers) and some very limited use of pigments.
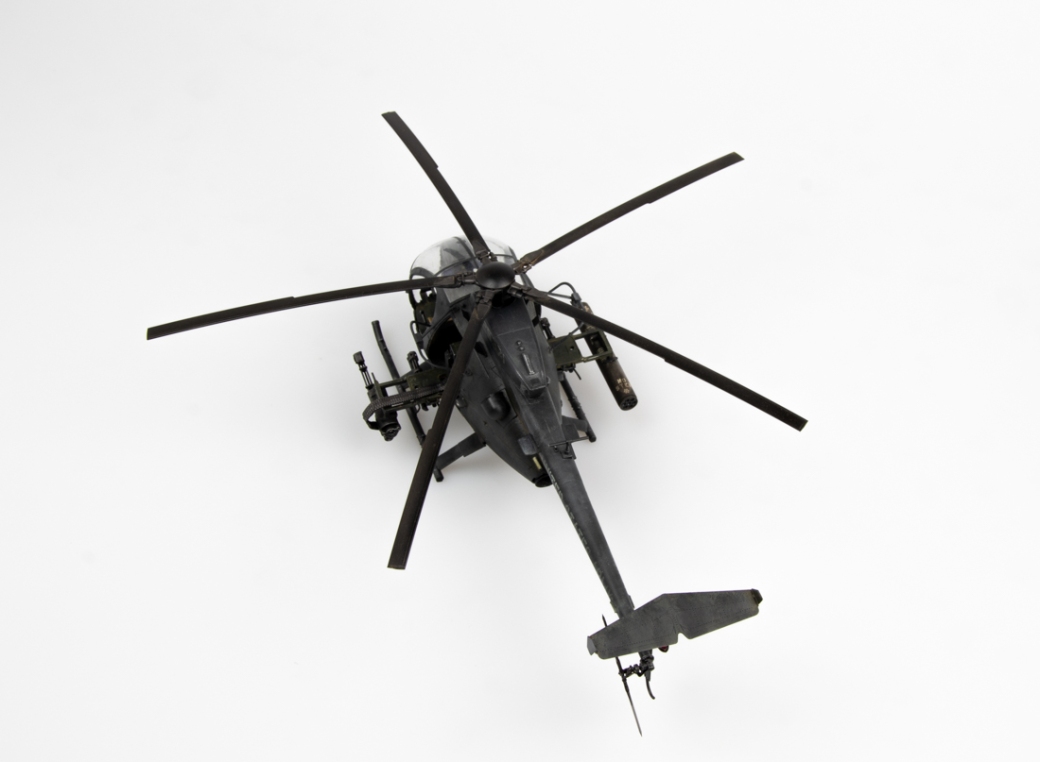
I finished the model of by assembling the main rotor. The main plate for the rotor is part B78. The instructions show four mounting points with holes for guide pins, however the actual part has no holes and some of the other parts have no guide pins. Overall, step 17 of the instructions is incredibly unclear which can cause a lot of problems when it comes time to install C56 – my rotor was leaning back far too much which required some fixing.
I wanted to put a pair of Hellfires on my kit, however some of them were short shot and as mentioned before, the kit does not include the sensor package needed to fire them anyway. So I stuck with a rocket pod and 3 guns.
Once everything was together I did some touch up painting and called it finished. I have to say, this was quite a chore to build. I’m happy to spend some time correcting things, but I shouldn’t have to be remaking parts, guessing what to do due to incorrect or vague instructions or be faced with completely missing parts. I’m glad Kitty Hawk are making kits like this, but the disconnect between the CAD models and the production kits is astounding. They seriously need to work on their QA. I want to purchase their Blackhawk when it releases soon – hopefully they improve.